Our target system helps make things easy in the field. Here’s a short list of steps to make sure you fumble around less when it’s time to place your ground points.
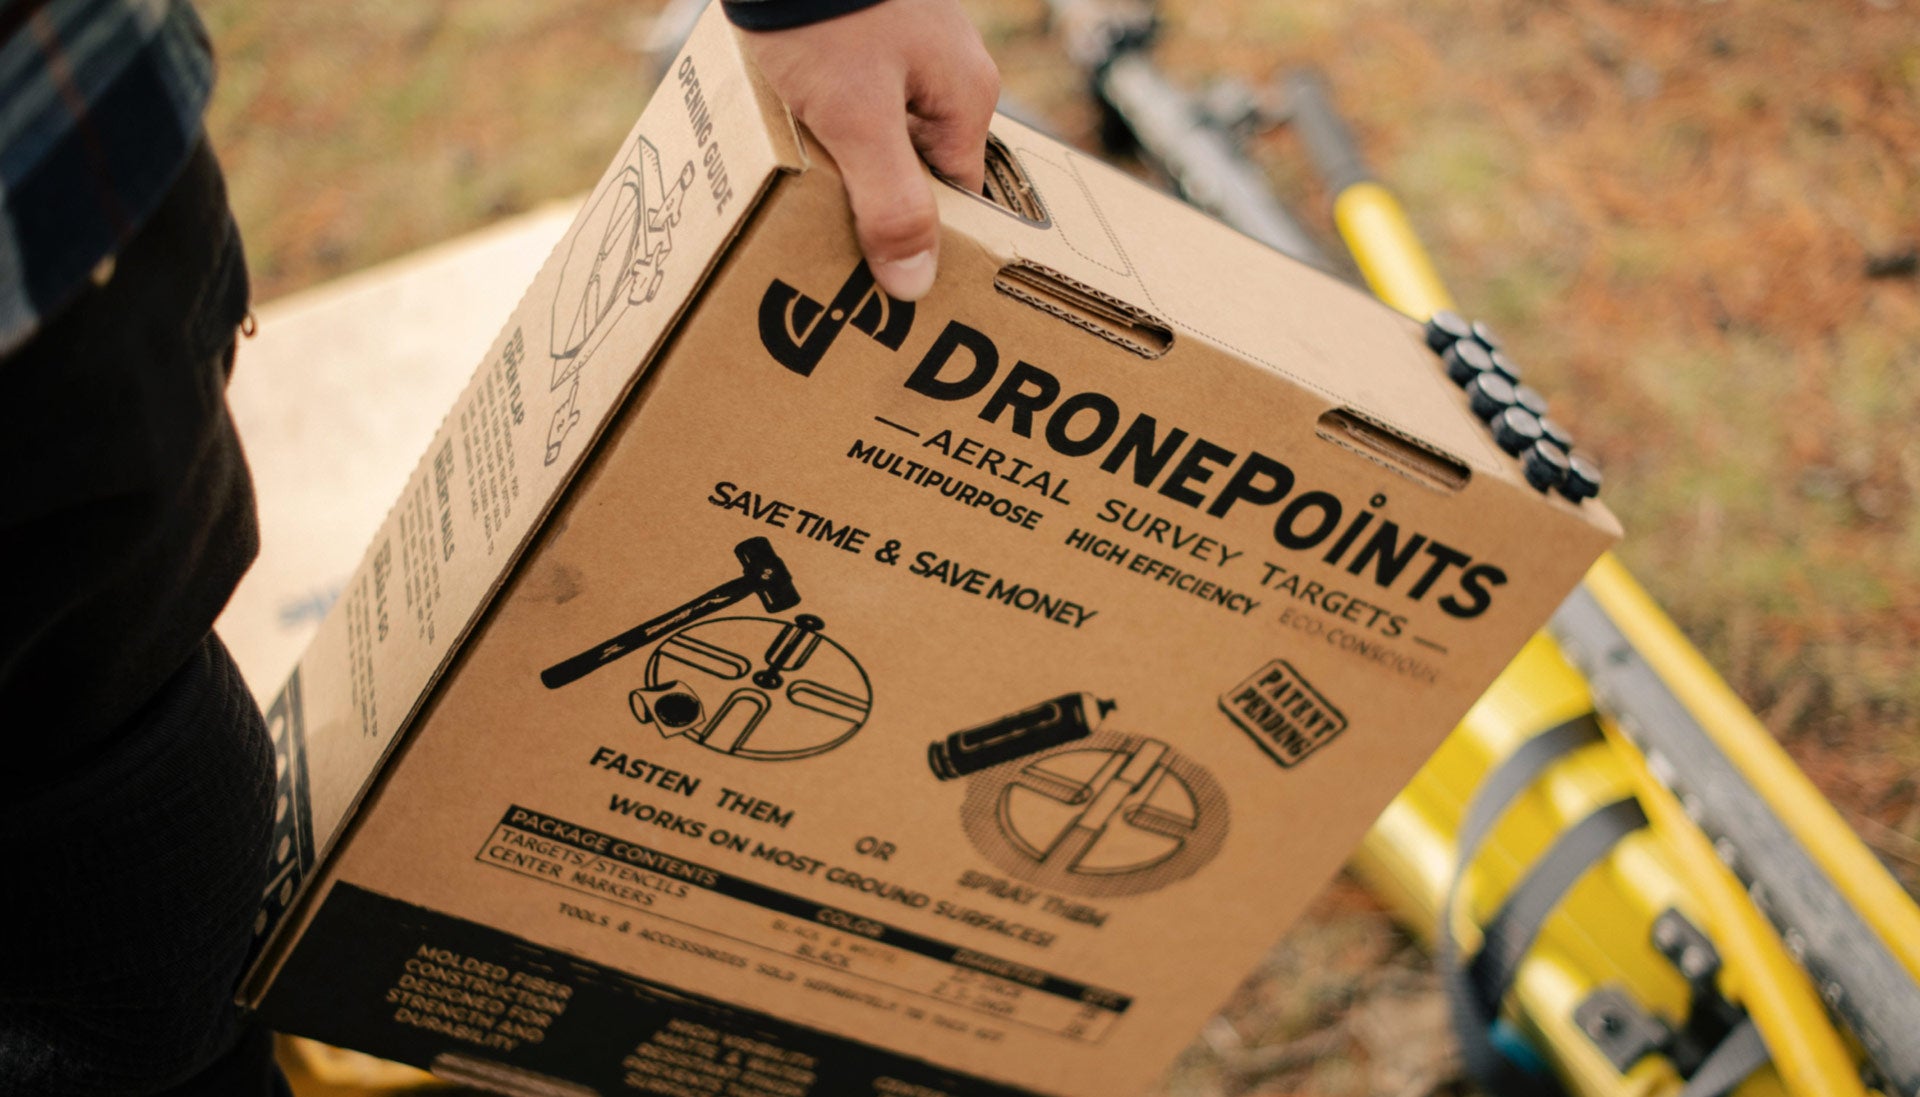

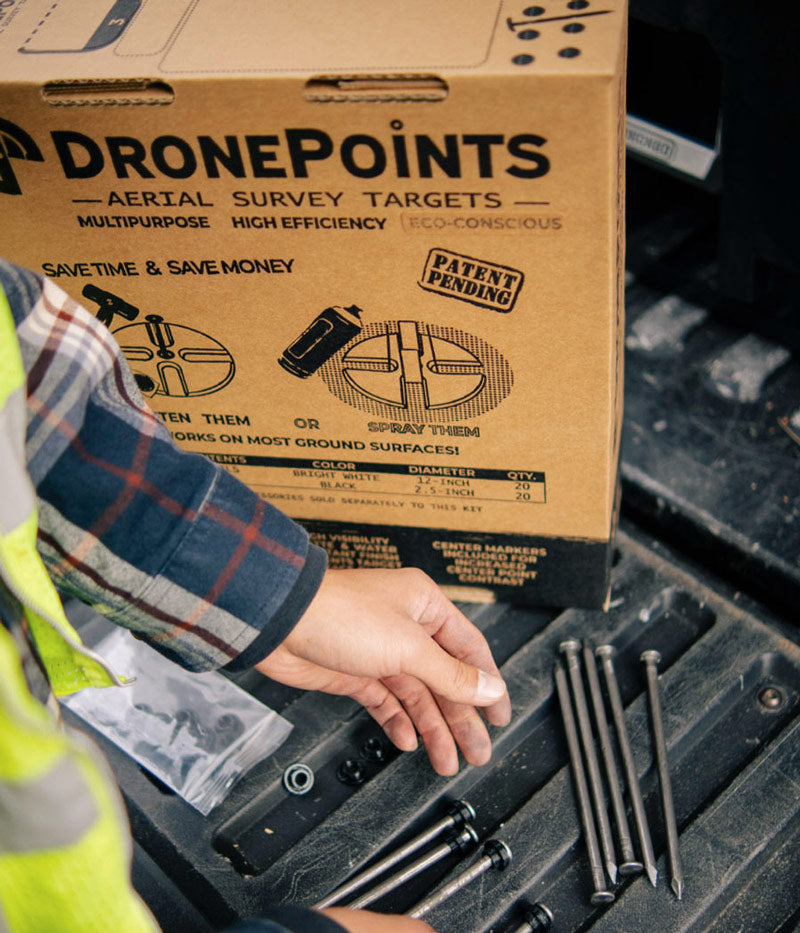
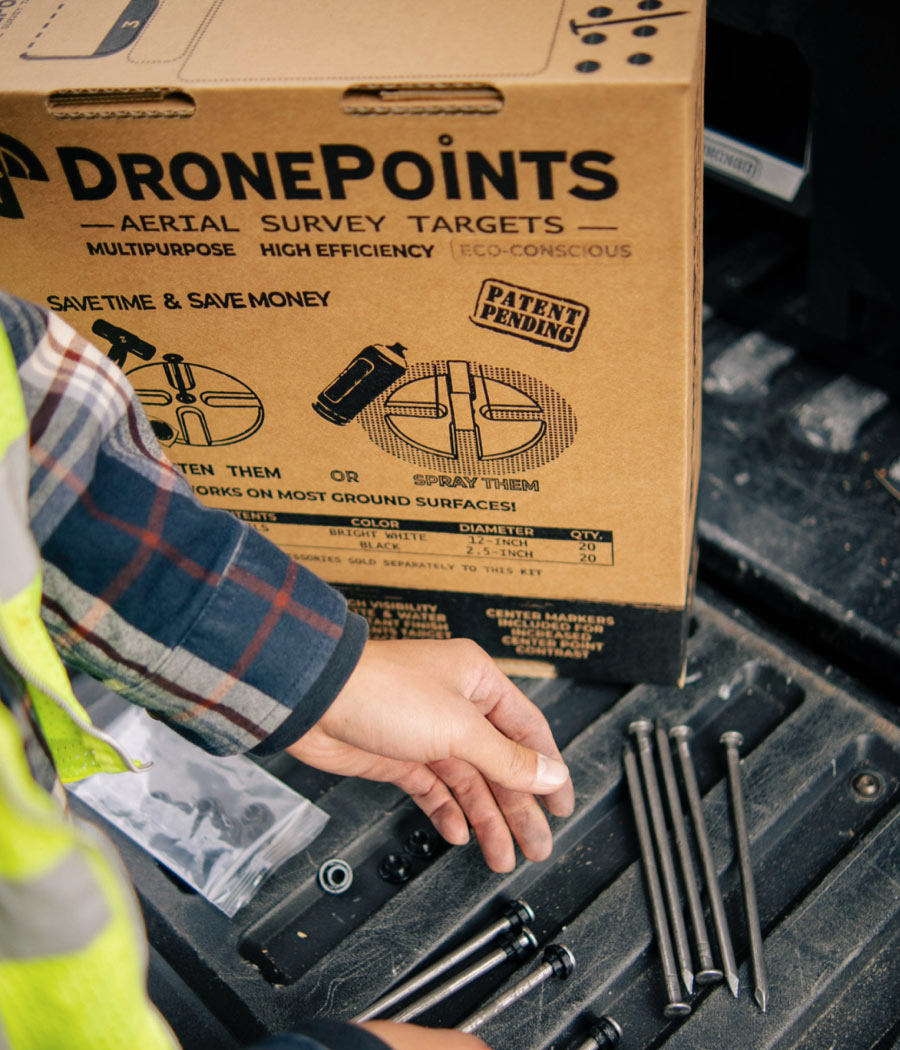
Before engaging the ready case, open box along the taped seam and inspect contents. If you purchased a kit with 60D nails you can remove them at this time.
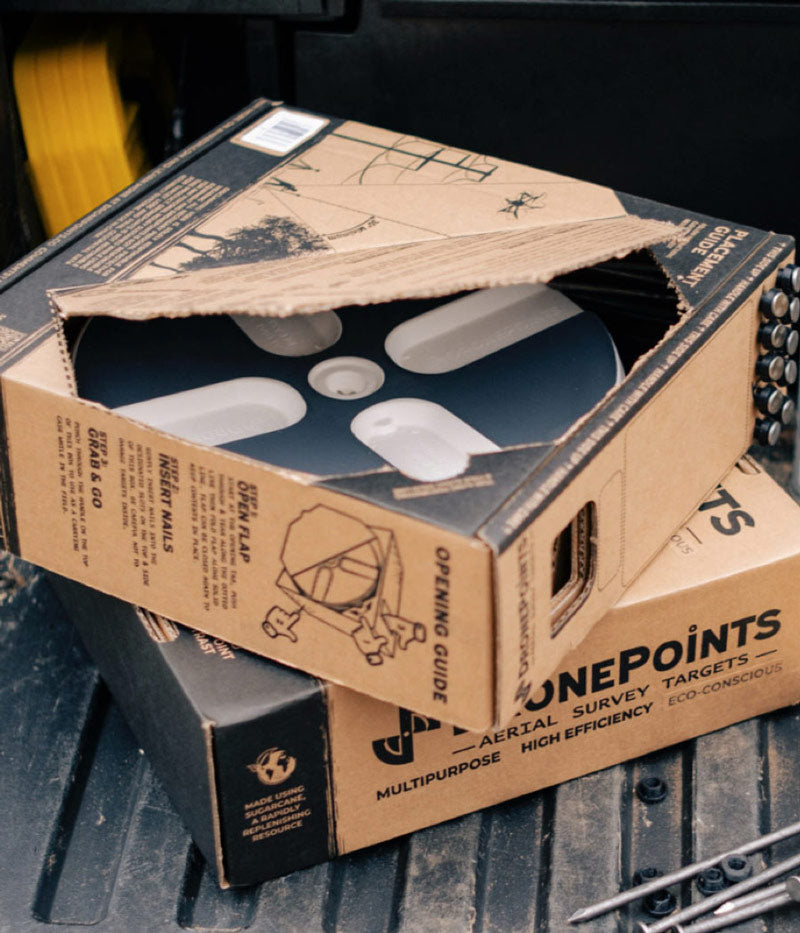
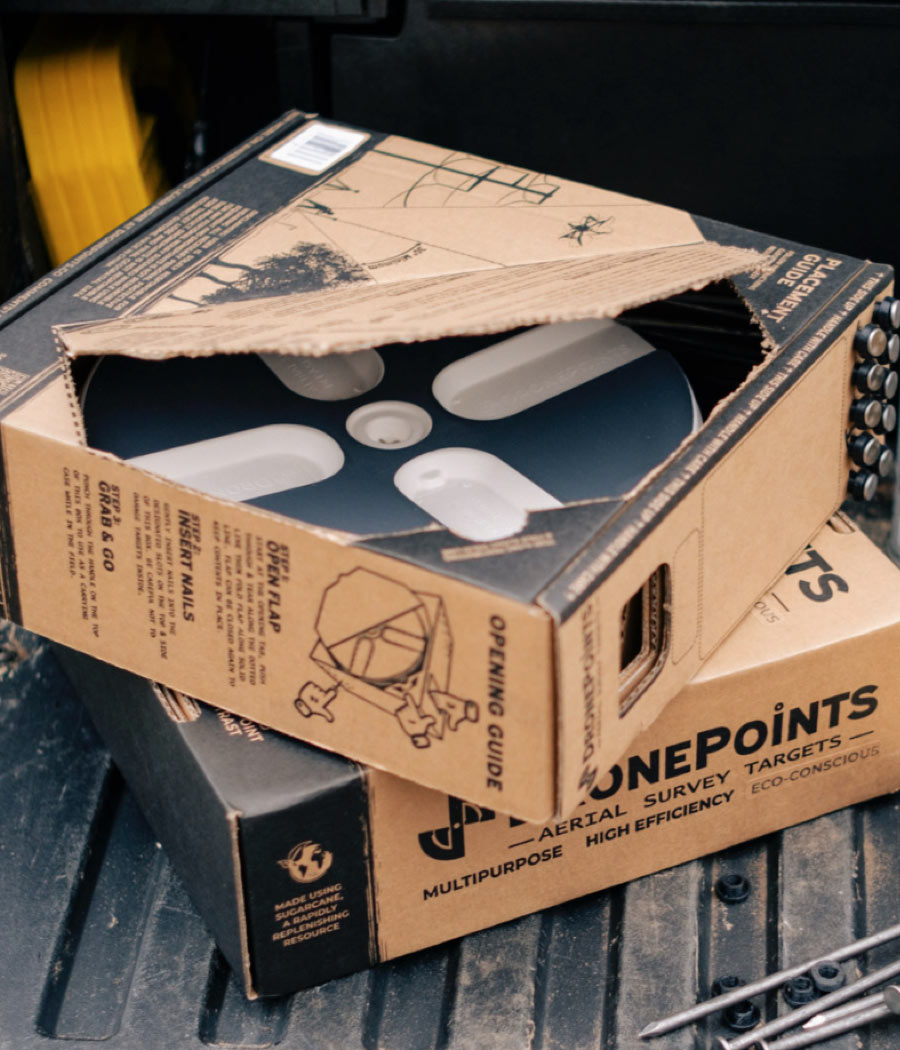
Punch Through the Tab: Carefully press your finger against the “Open Here” tab to punch it through. This action will create an initial opening to facilitate the next steps.
Cut or Tear Along the Perforated Line: Using this initial opening, either cut with a knife or tear along the perforated dotted line extending in both directions from the tab. Ensure that you are following the line precisely to create a neat opening.
Fold Along the Solid Line: Once the perforated line has been cut or torn, fold the material along the adjacent solid line to fully open the access panel.
Warning: If you're using a knife to cut along the perforated line, be extra cautious to avoid personal injury. Additionally, be mindful of the pressure and depth of your cut to prevent any damage to the targets within the box.
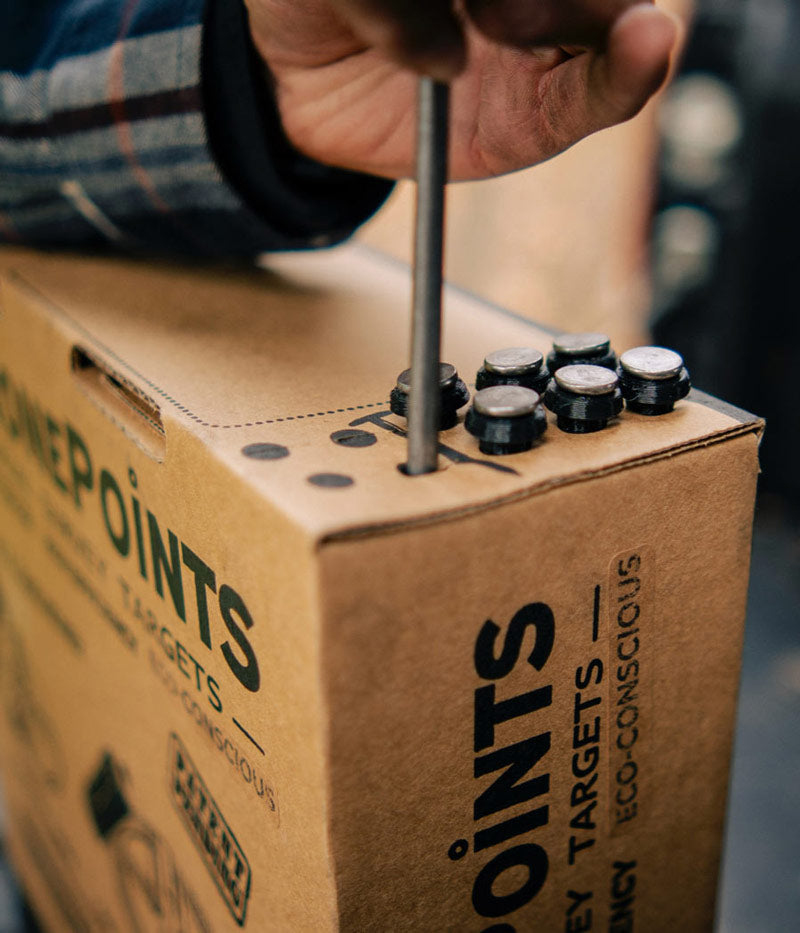
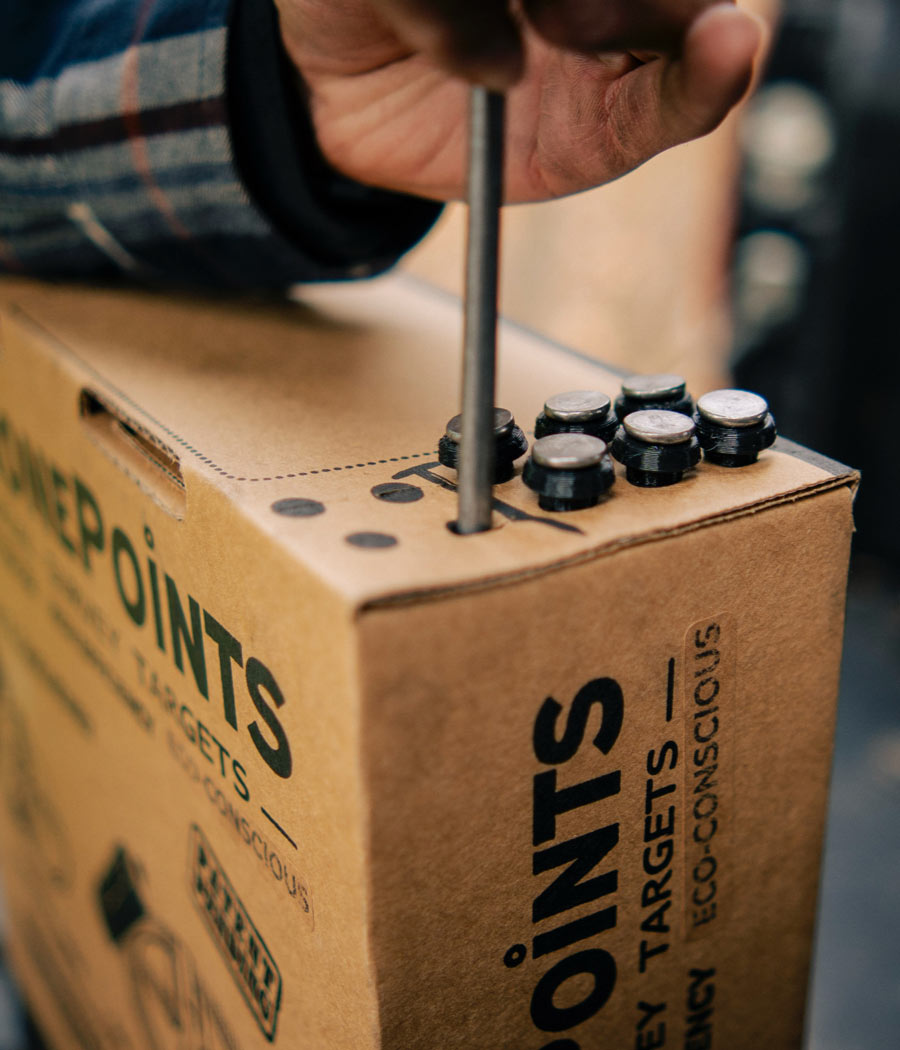
8" nails can be inserted into the slots but targets may be difficult to remove due to overcrowding.
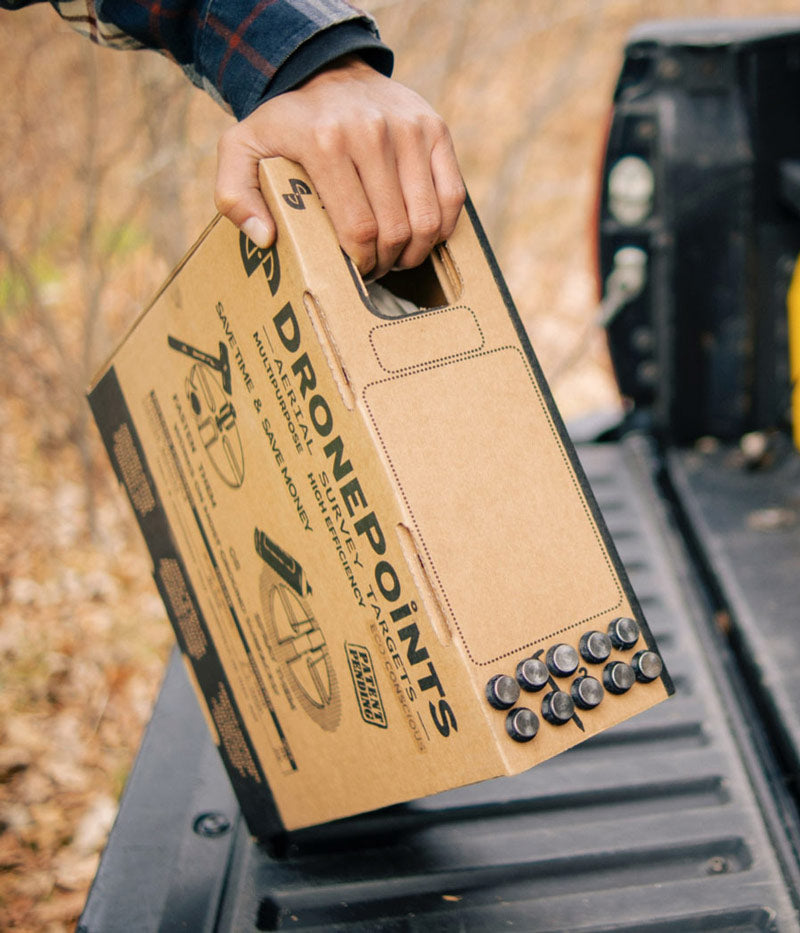
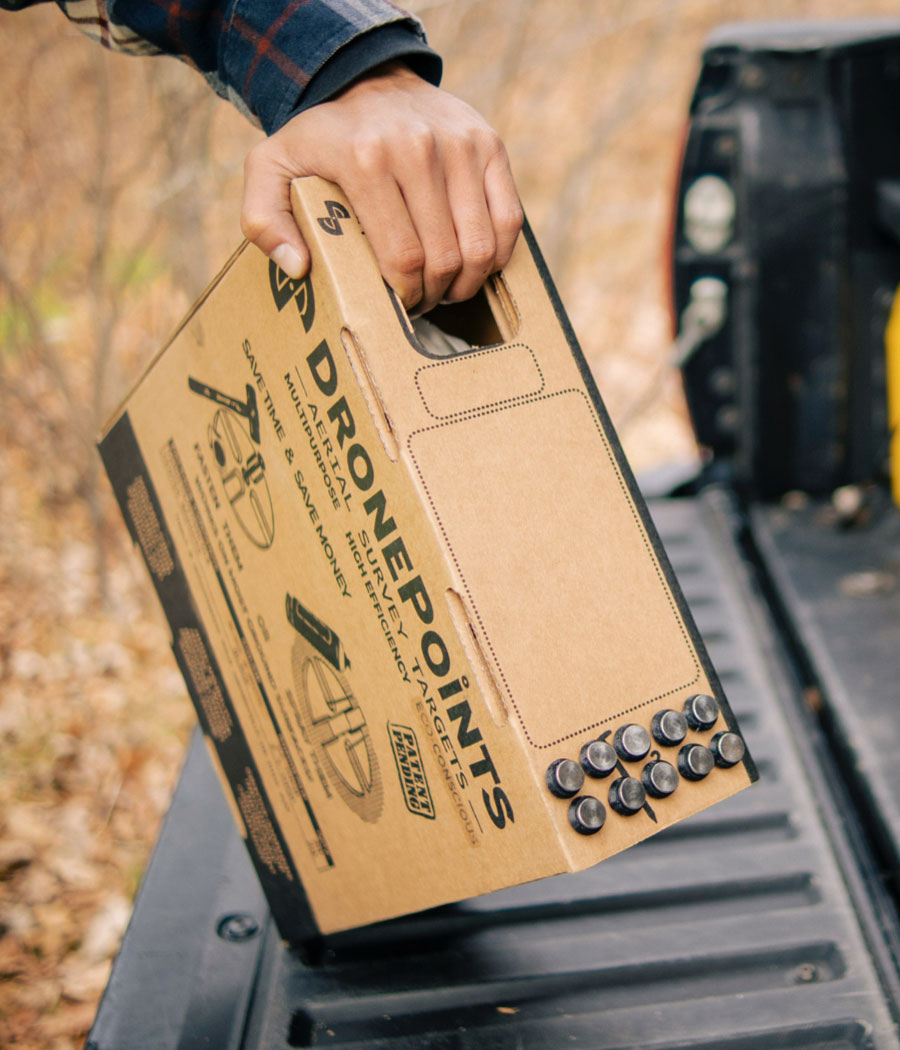
Punch through the handle to complete the carrying case setup. Find the designated handle area on the top of your carrying case. Press down firmly along the perforated edges to punch through, then fold along the solid line to form a durable handle. This feature enhances the portability of your DronePoints carrying case, making it even more convenient for fieldwork.
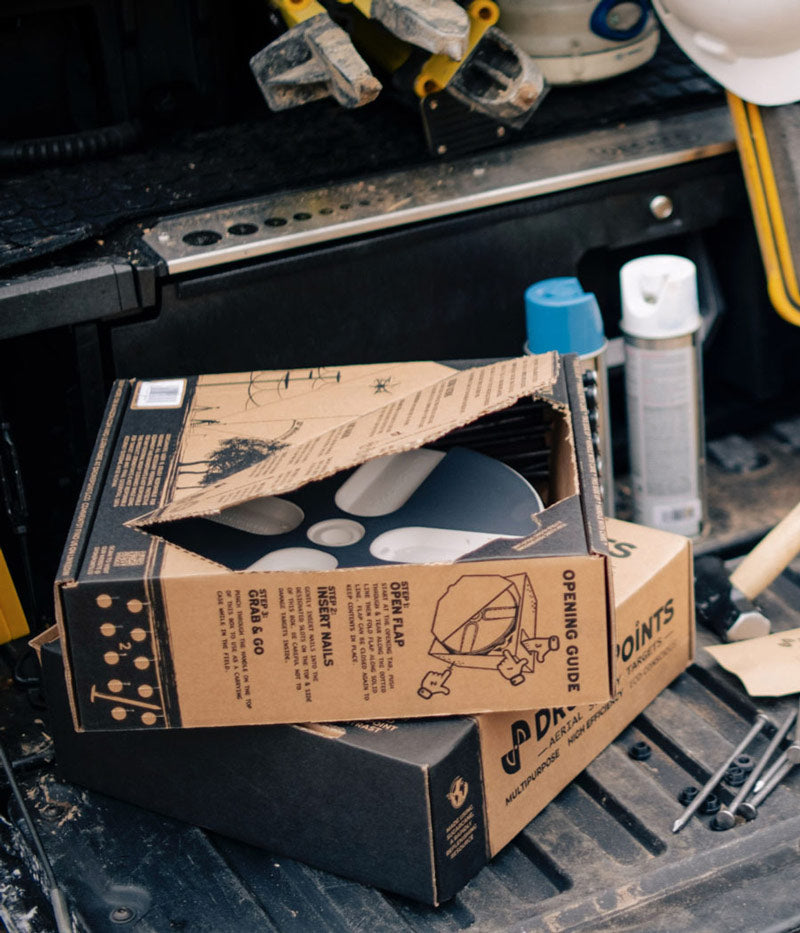
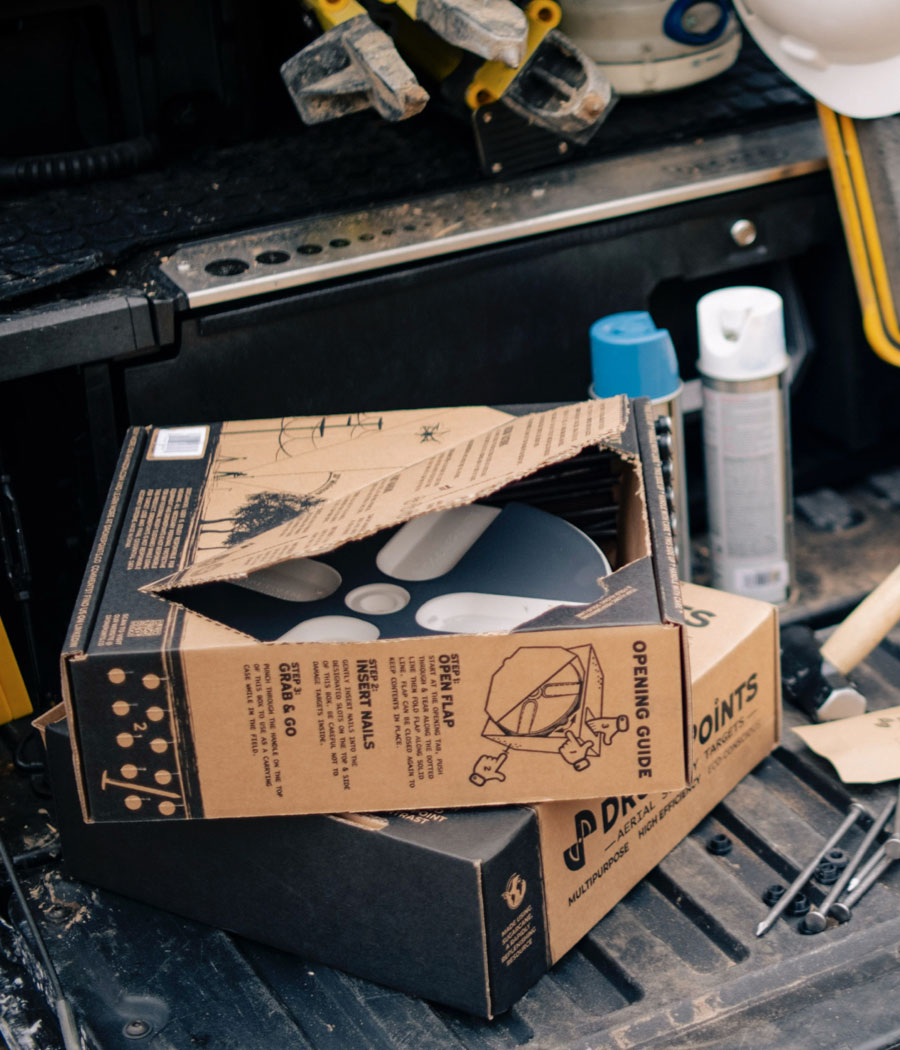
Place the carrying case face down with the access panel up. Gently slide your fingers under the top target and lift it straight upwards. A slight twist can help de-nest and ease the target out. This method ensures you can quickly and smoothly begin your field setup without any trouble.
Setting up DronePoints Aerial Targets is quick and straightforward—just secure each target with a single nail for reliable placement on unpaved ground surfaces. We offer target kits with included ground fastening nails to make the process as quick and easy as possible, all you need is a hammer.
Important Note: No problem if you want to use your own nails but please be advised 60D common nails should always be used with our specialty adapters which provide a more secure hold and improve accuracy.
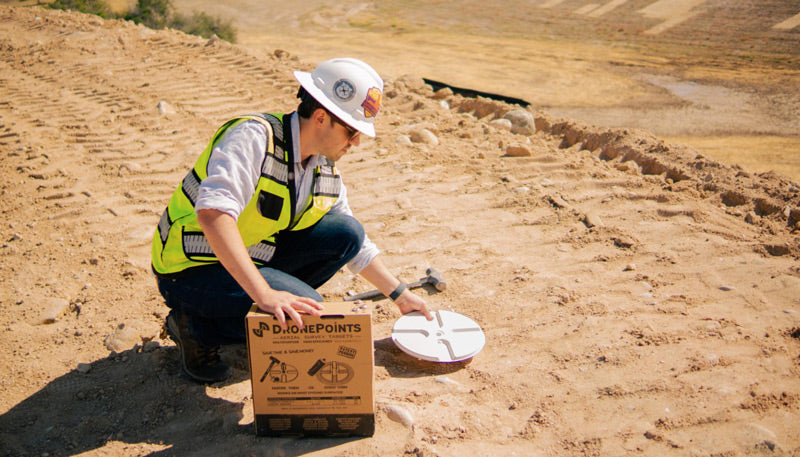

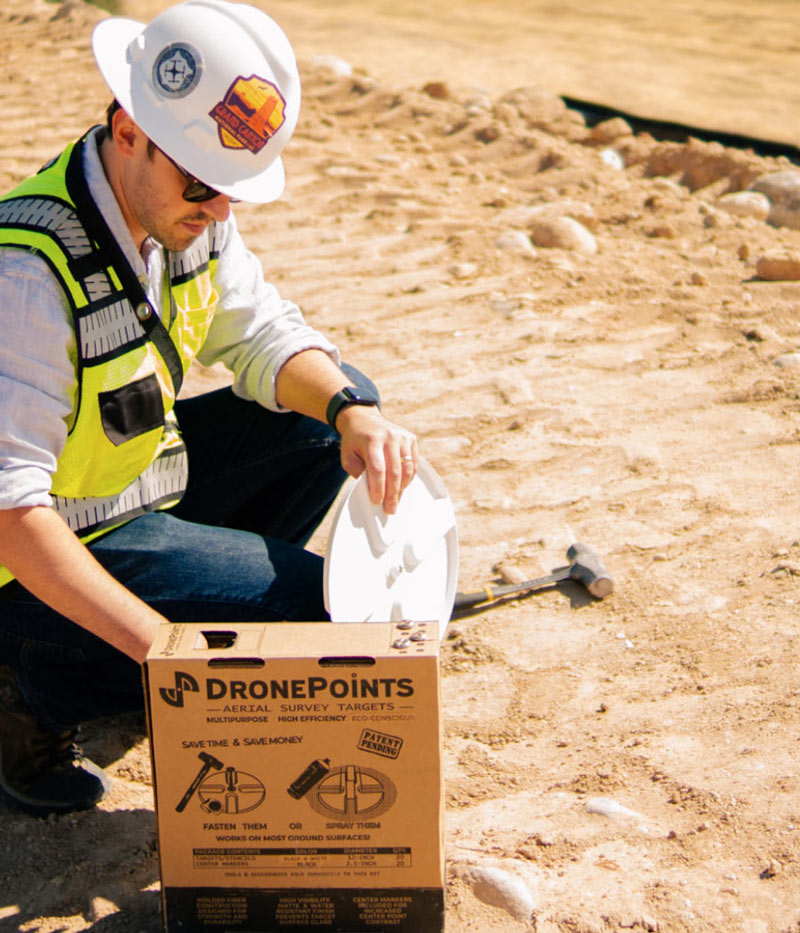
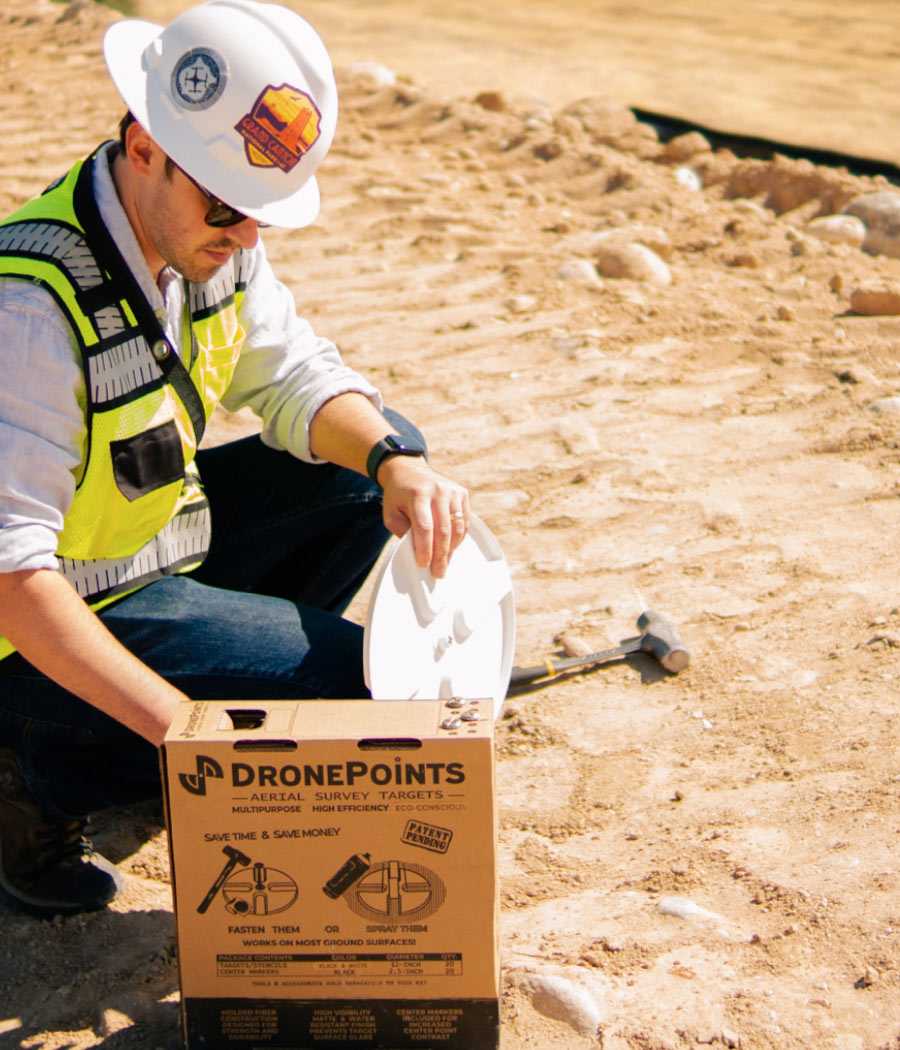
Start by positioning the target at your desired location, ensure the following:
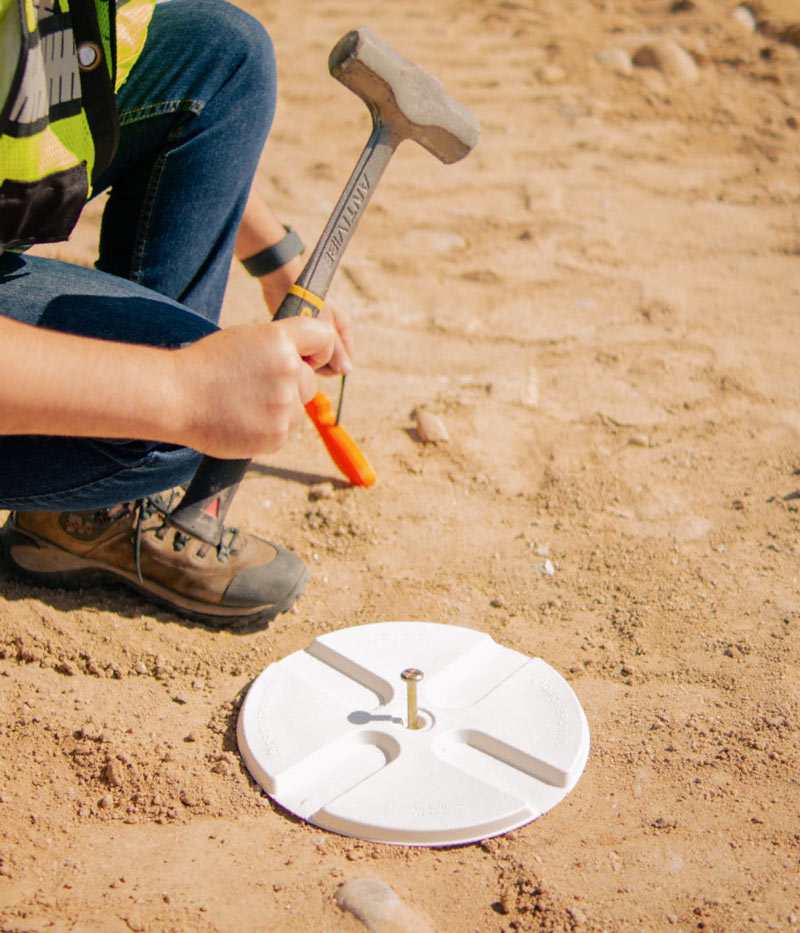
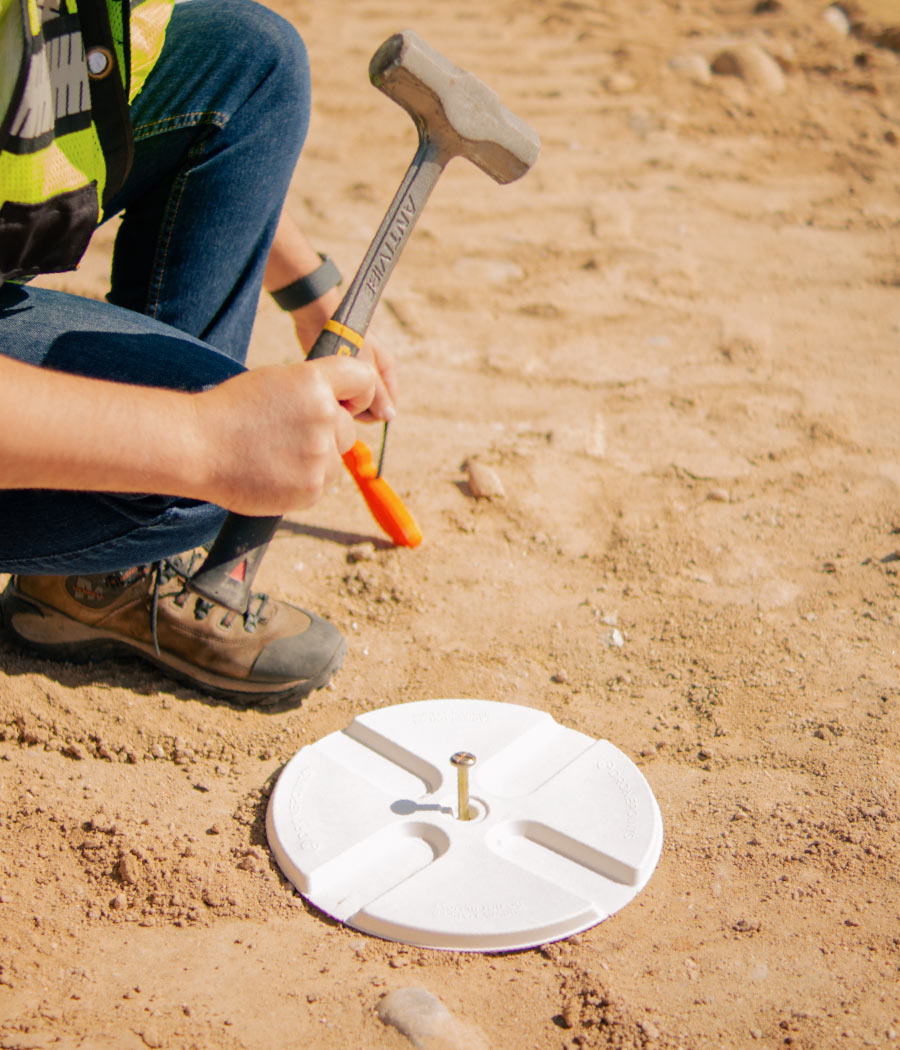
Start by positioning the target at your desired location, ensure the following:
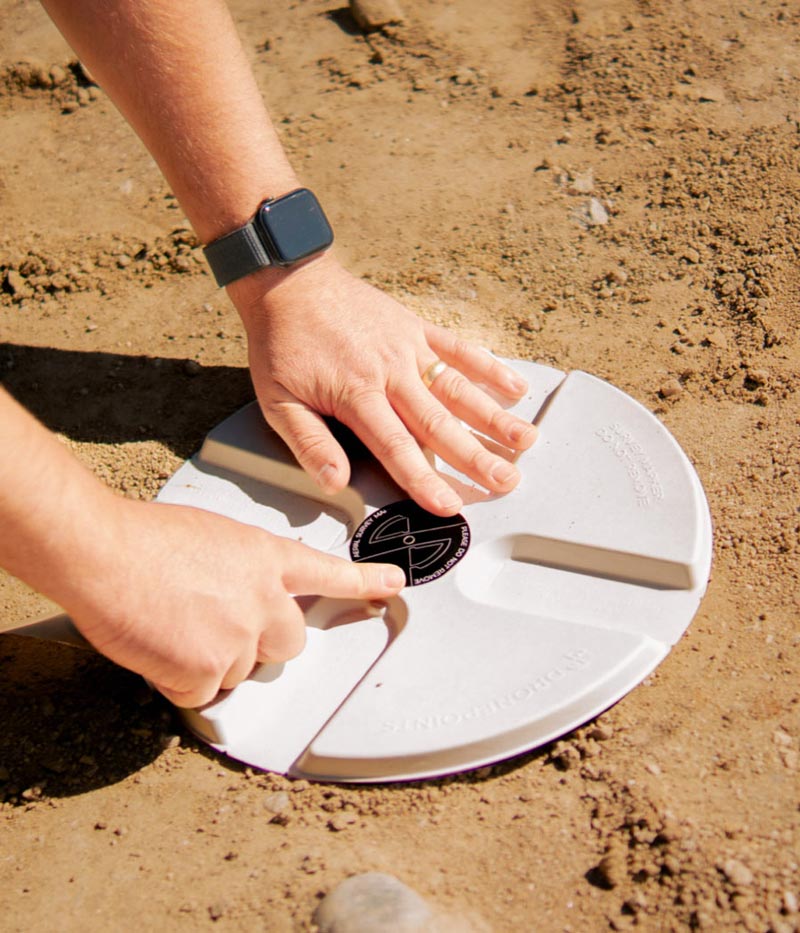
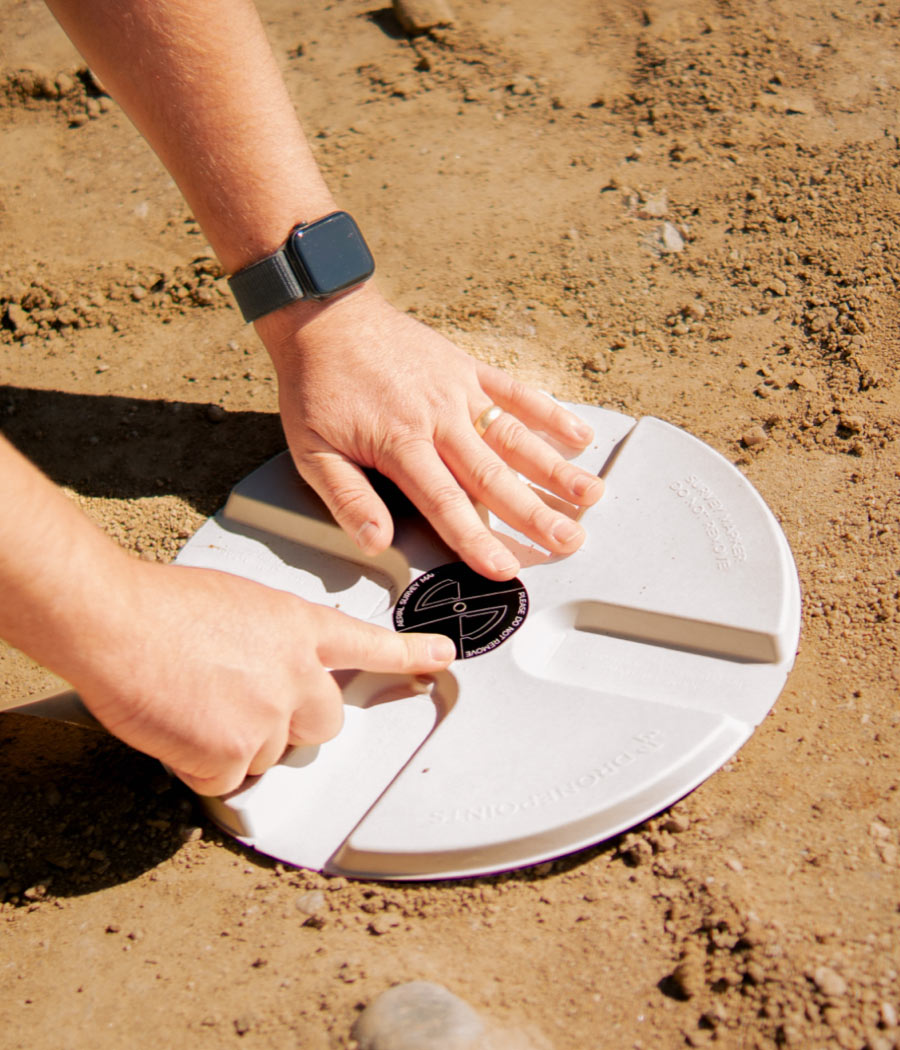
Enhance center visibility and deter unauthorized removal.
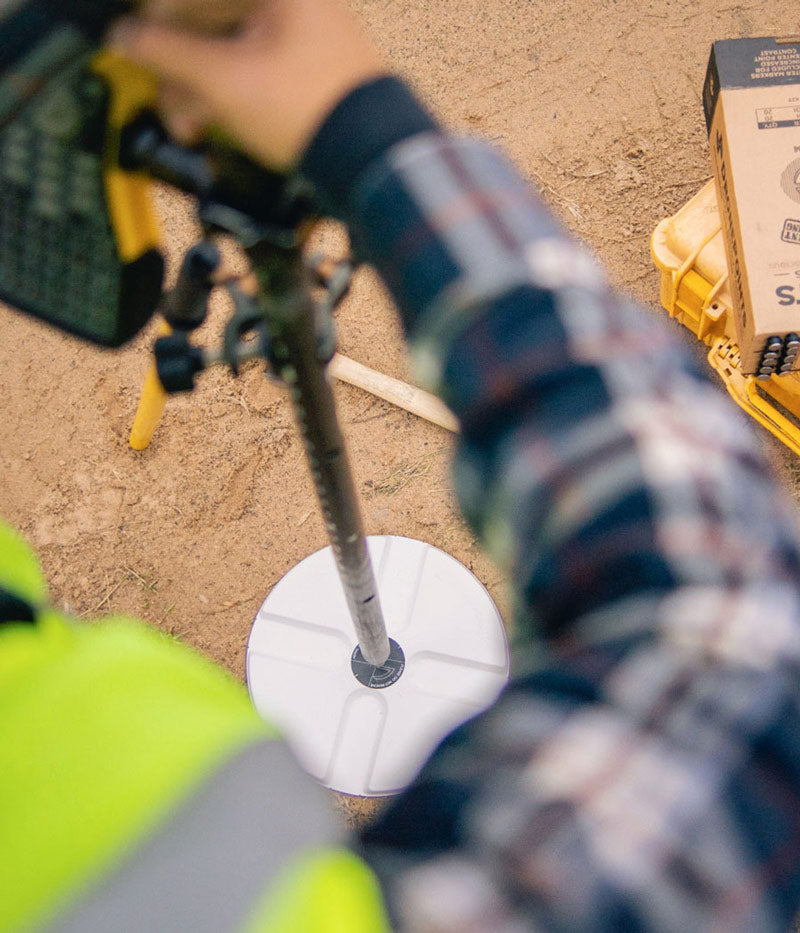
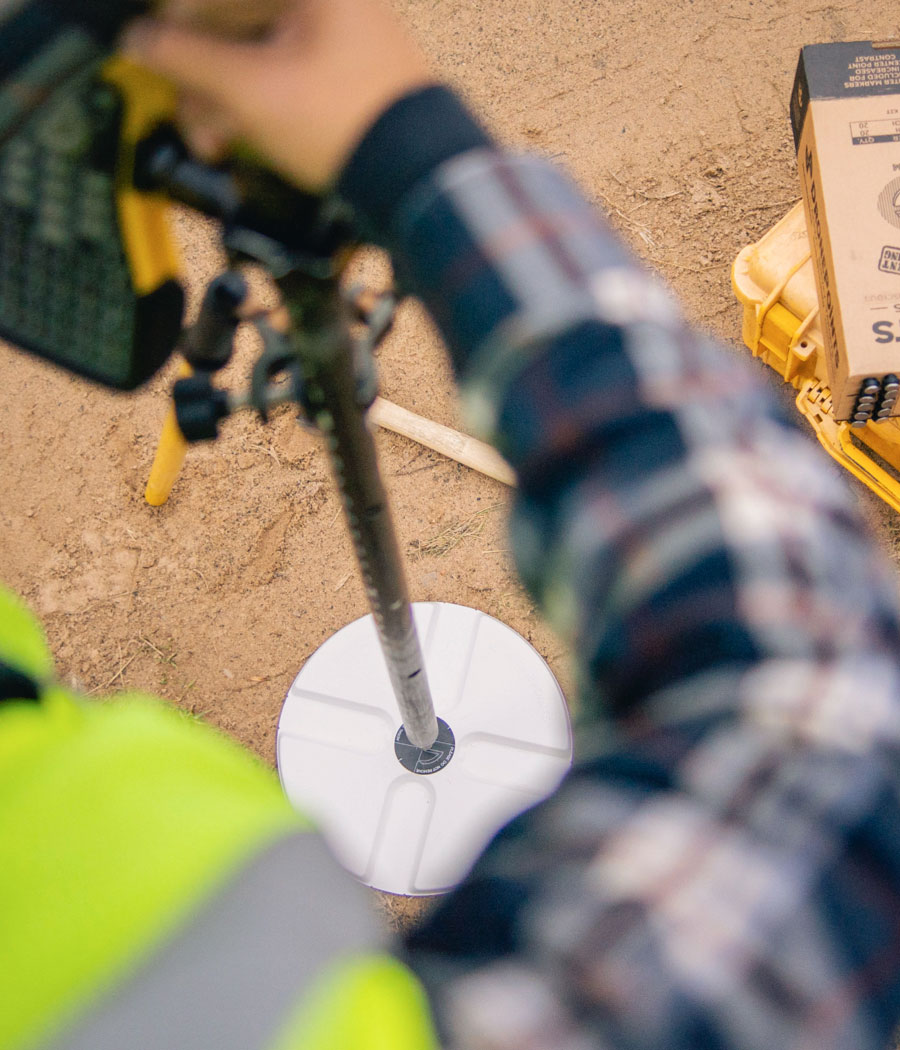
To ensure precise GPS observations we recommend using a high accuracy GPS/GNSS system
This is a short description or overview of placing targets on paved surfaces. This can be about 2 sentences long and better to keep it short and sweet!

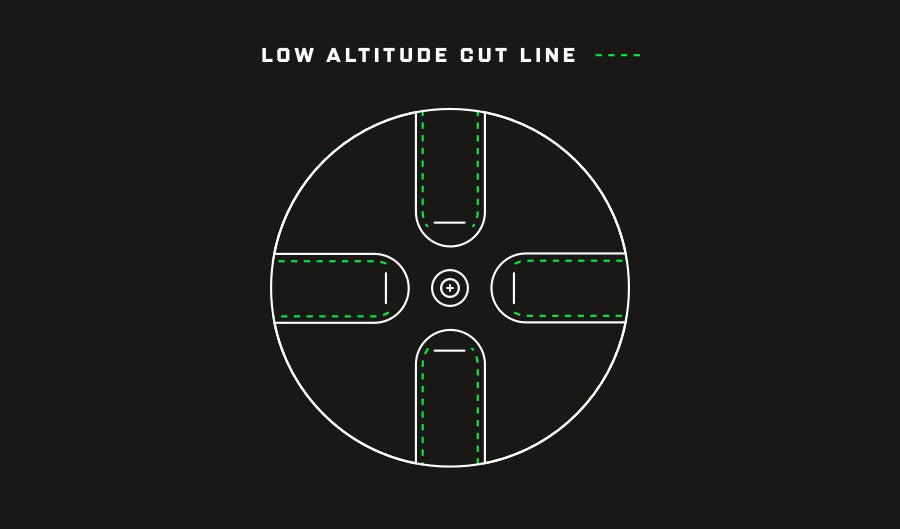

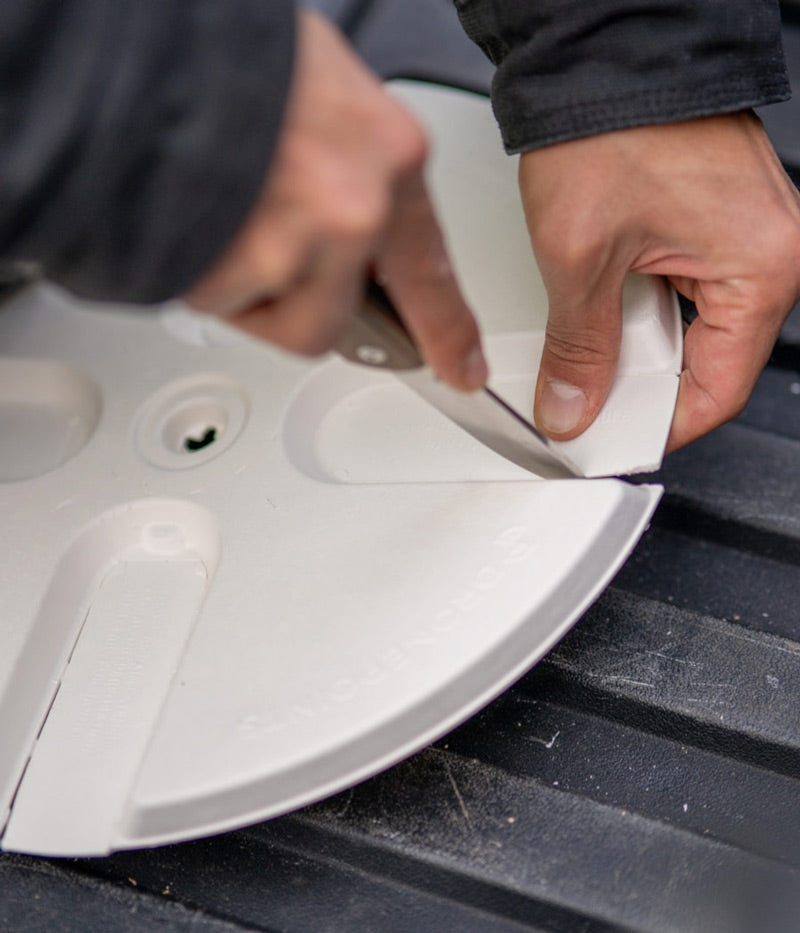
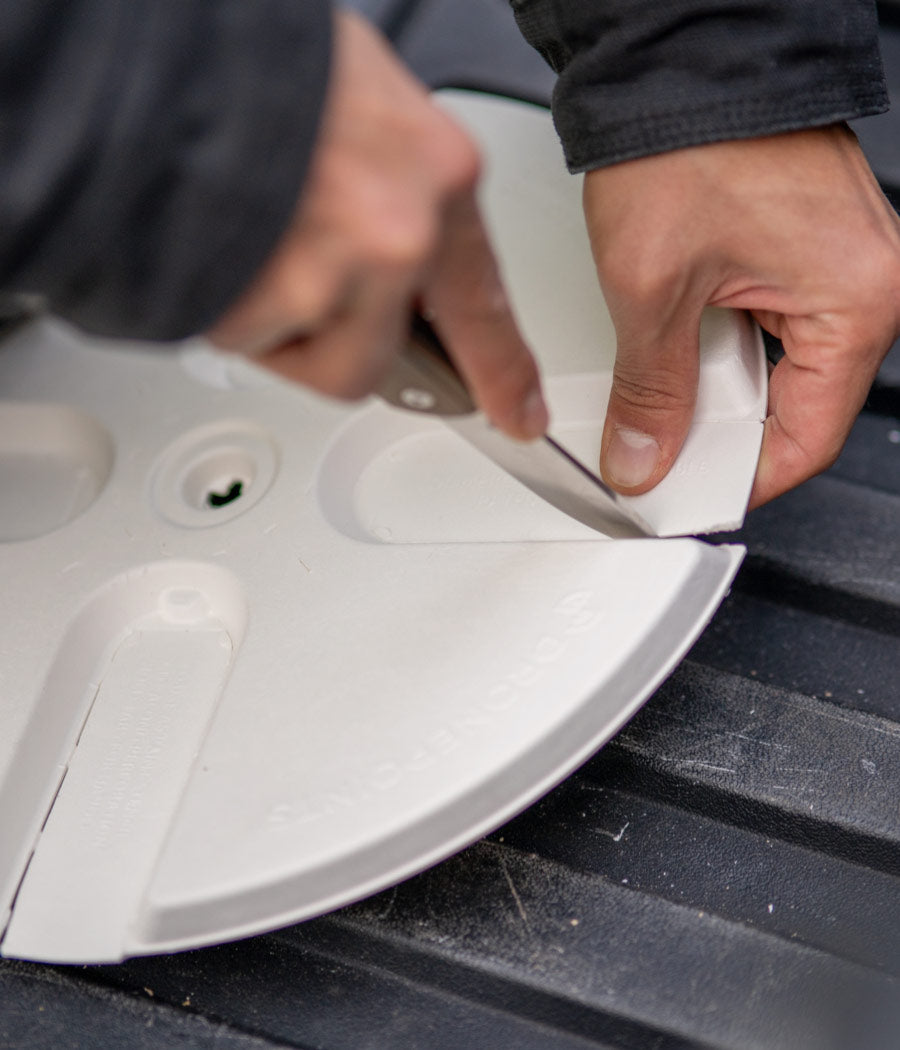
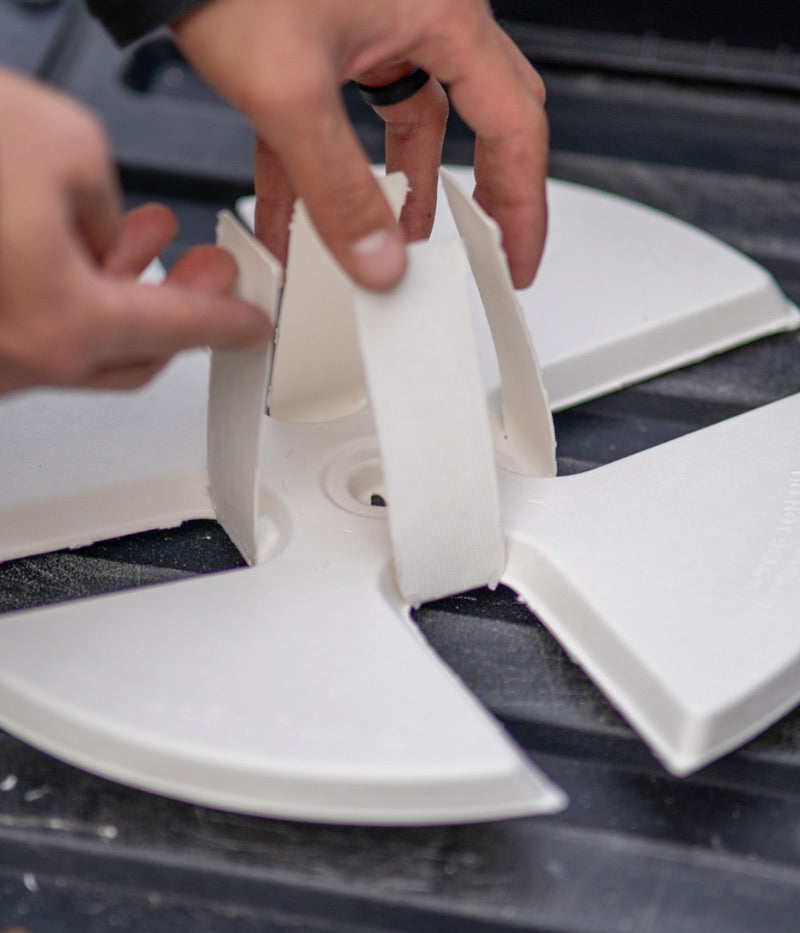
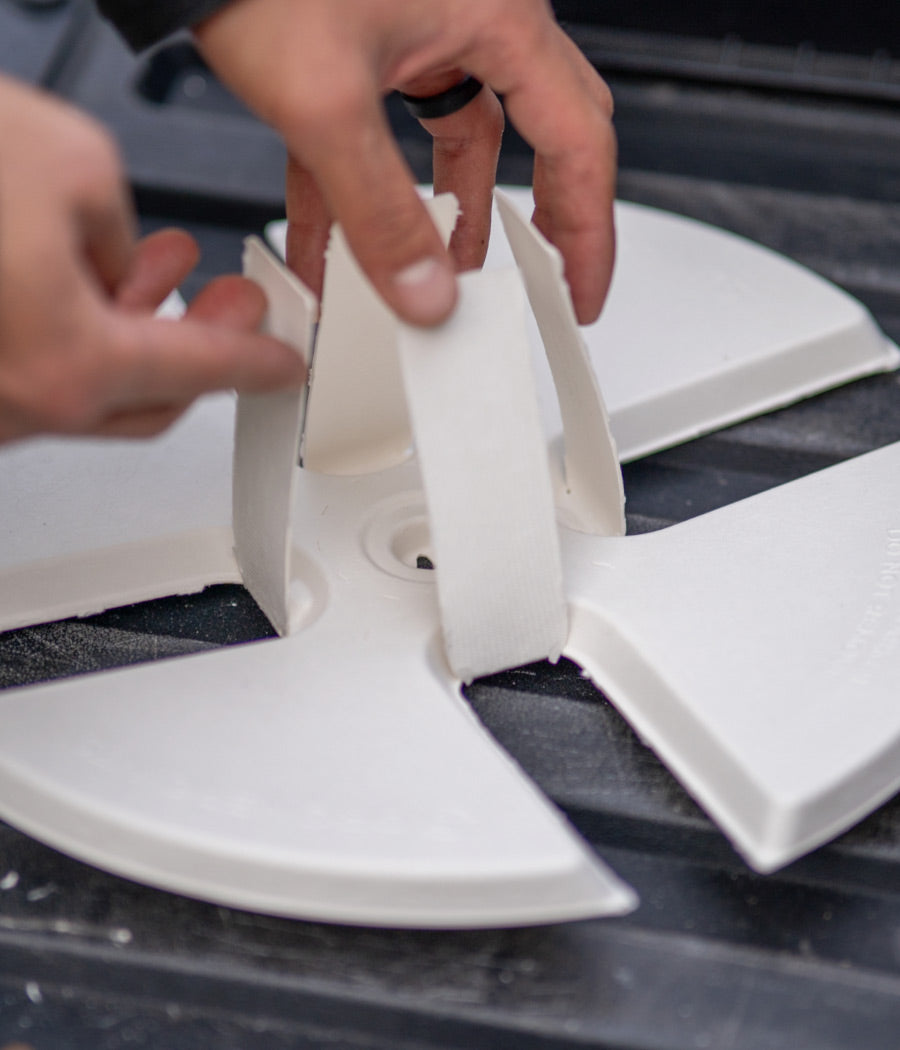
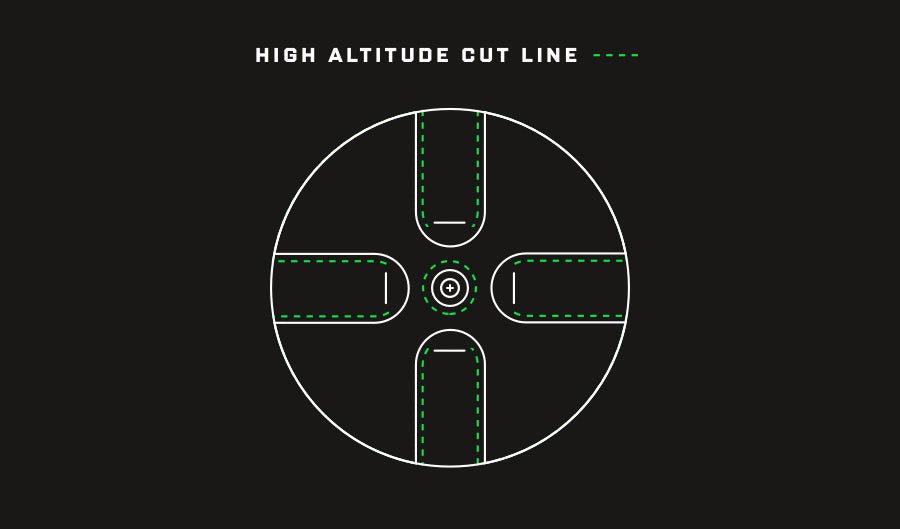

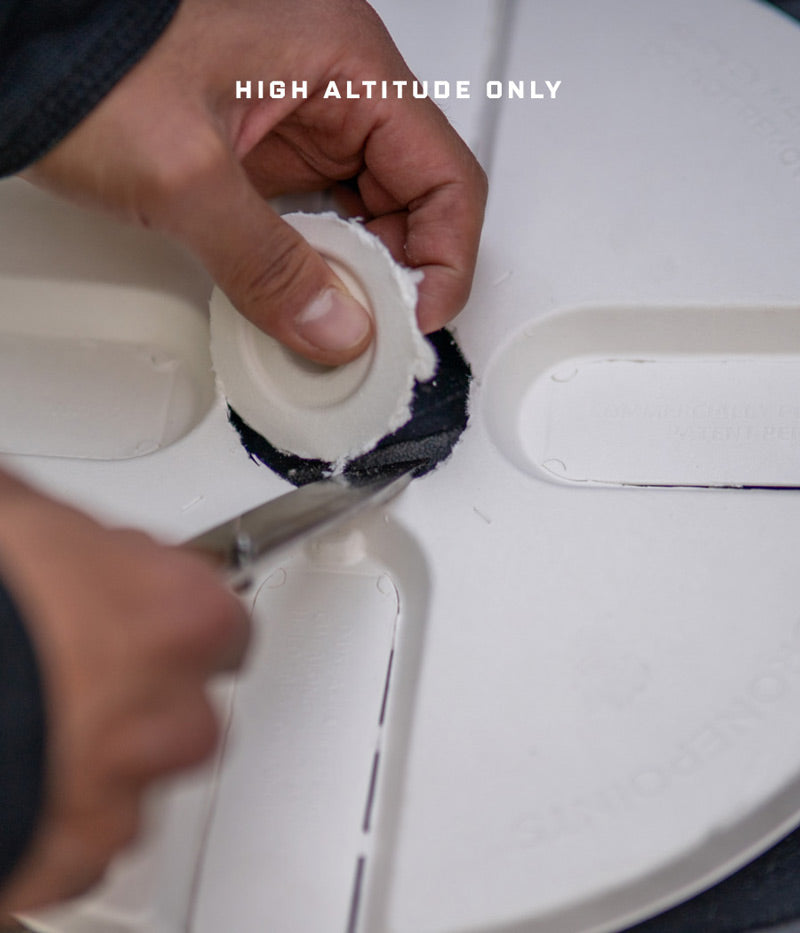
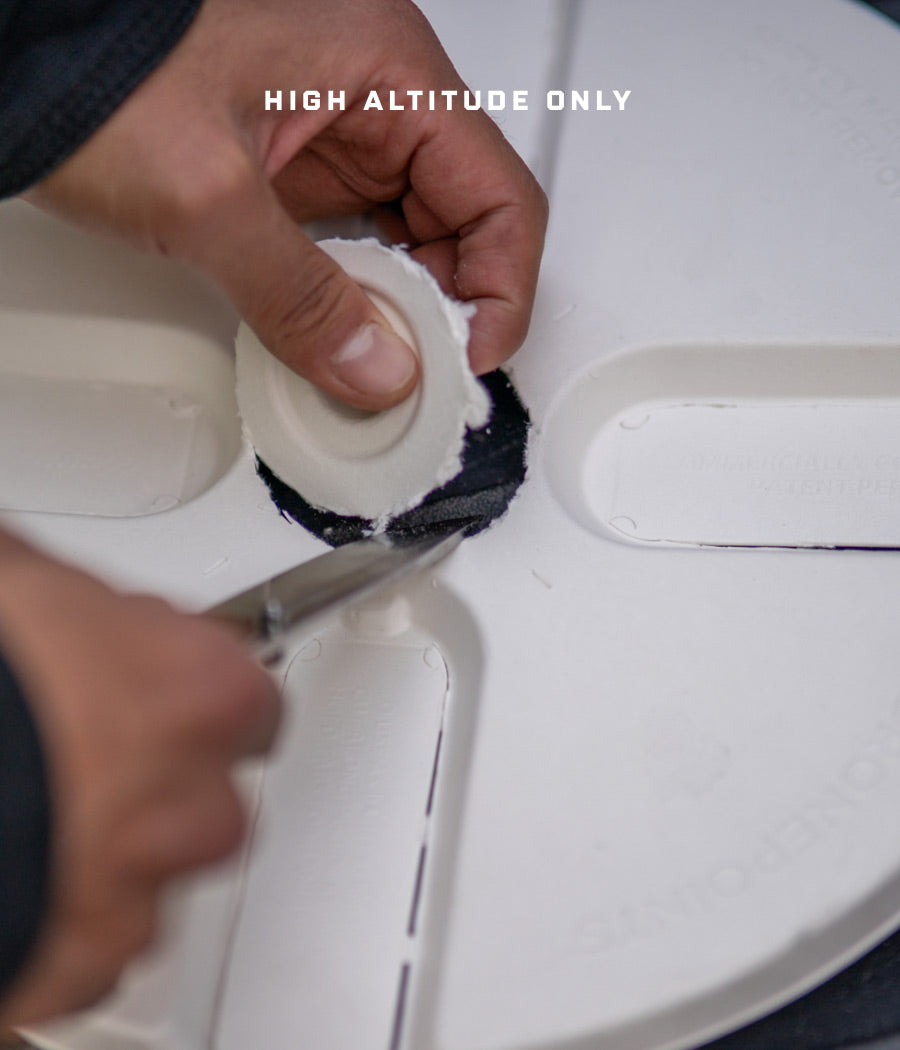
Cut the flaps
For Low Altitude
This option provides a marking with crosshairs that are 1.25 inches wide. Perfect for data collections with a high ground sample distance (GSD) aerial data collections performed at lower flight altitudes.
For High Altitude
This option provides a marking with crosshairs that are 2.0 inches wide. This option is for lower ground sample distance (GSD) aerial data collections performed at higher flight altitudes.
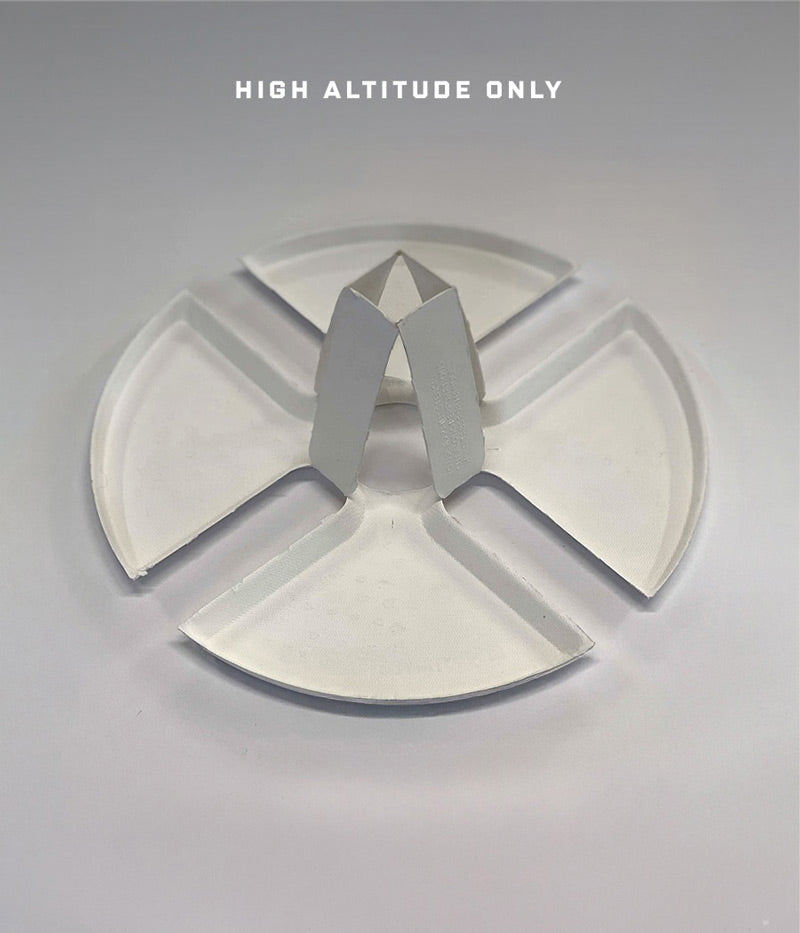
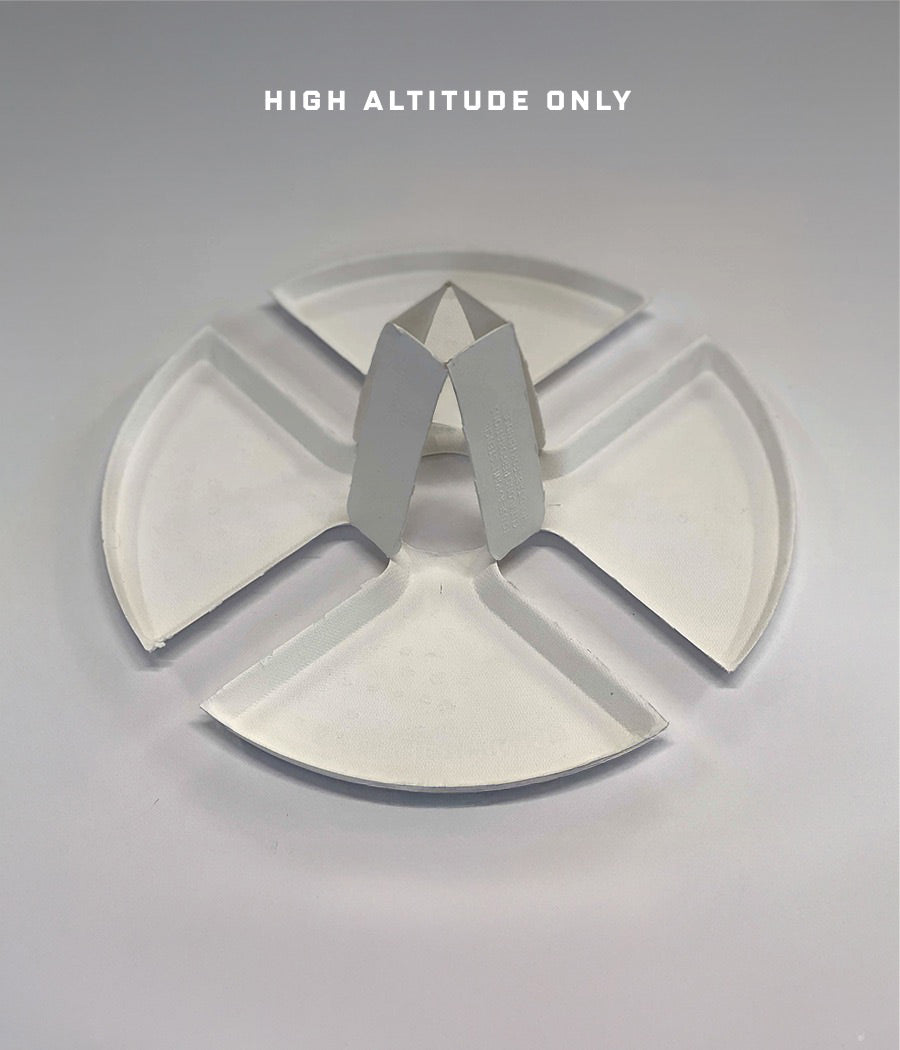
For High Altitude ONLY
Flip the Stencil Over: The underside of the target must be facing upwards.
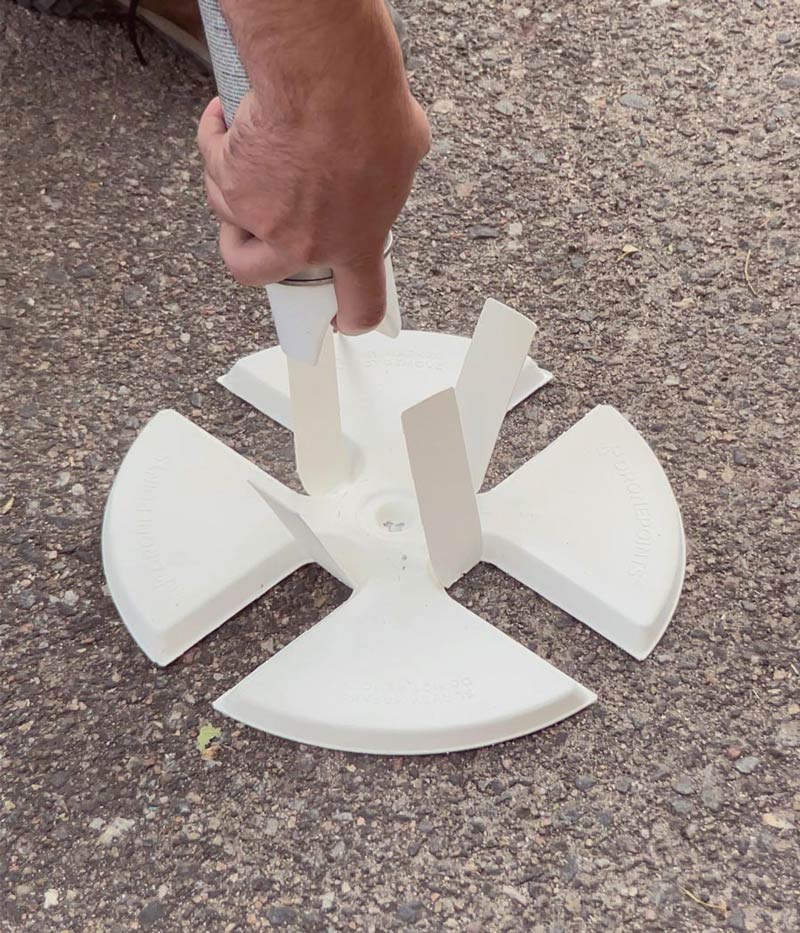
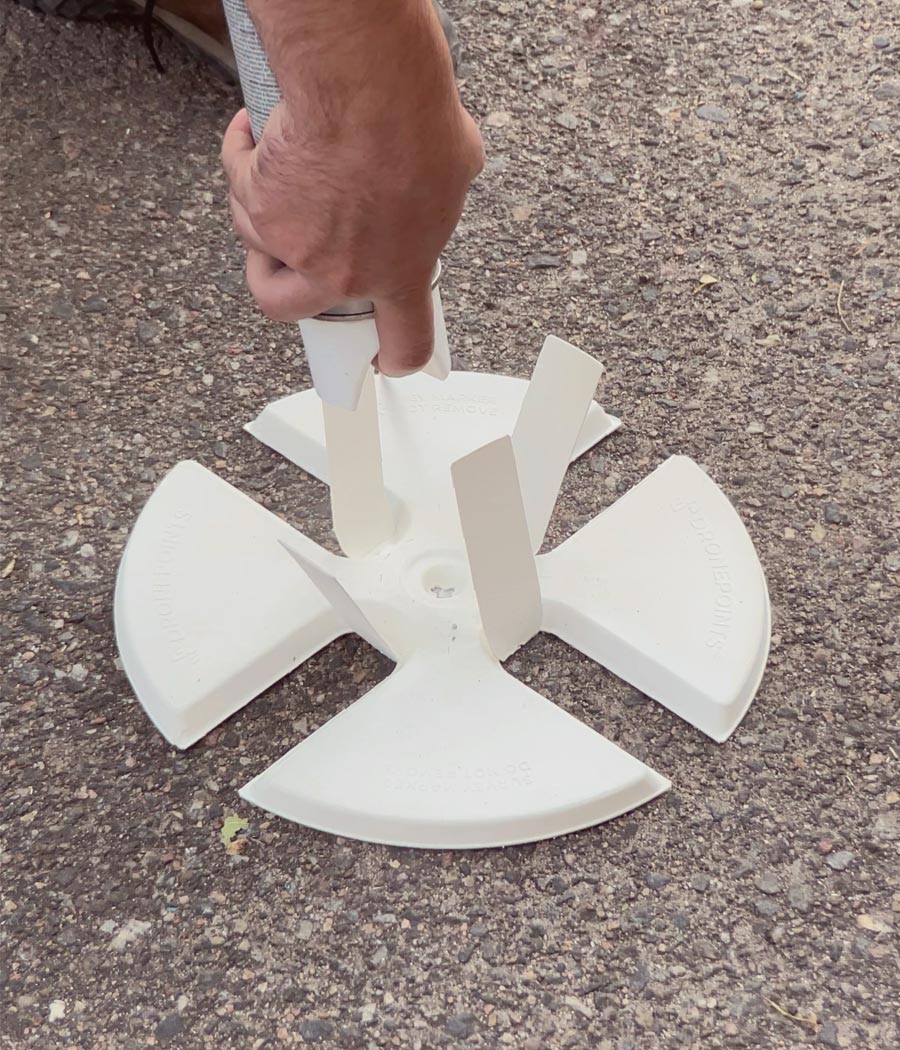
Position the Stencil: Carefully place your DronePoints stencil at the intended location. If you're aligning it over an existing survey monument or nail, utilize the center hole of the stencil for precise positioning.
Spray the Center: With the stencil stabilized, apply your marking paint through the center hole. This mark not only guides you for any necessary realignment but also serves as a critical reference point for GPS surveys.
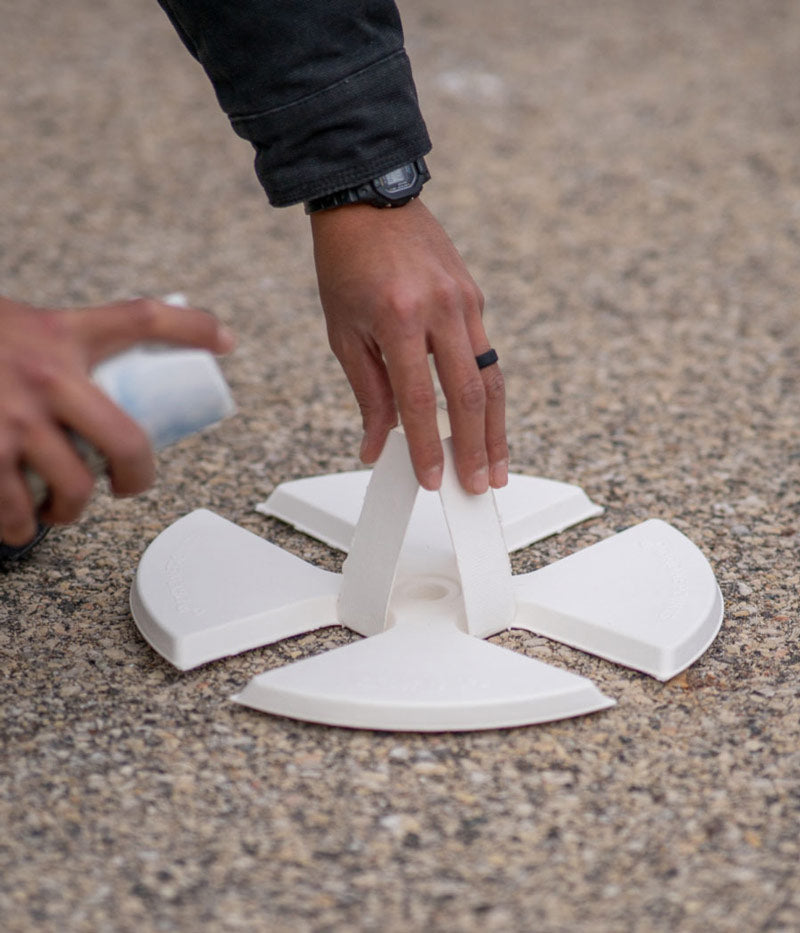
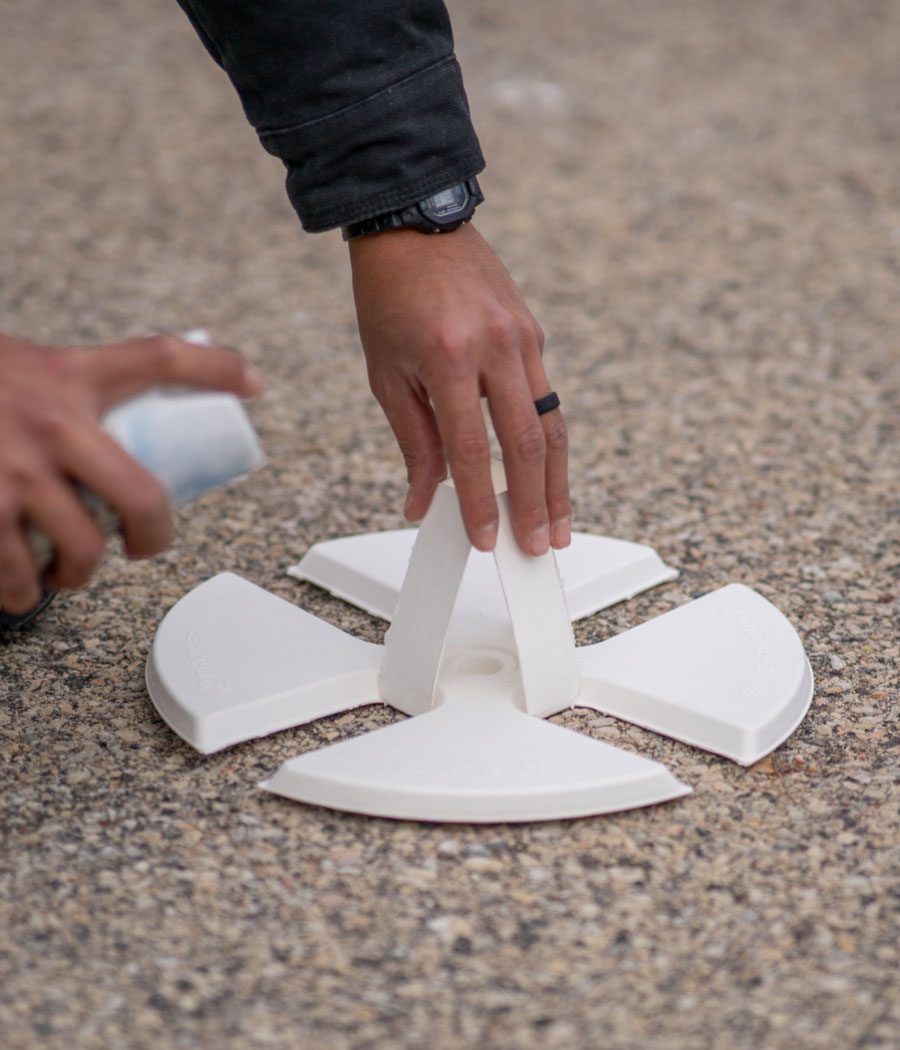
Prepare for Paint Free Handling: Before applying any paint, gently fold all the cut flaps upwards and towards the center of the stencil. This creates makeshift handles, allowing you to manipulate the stencil without getting paint on your fingers.
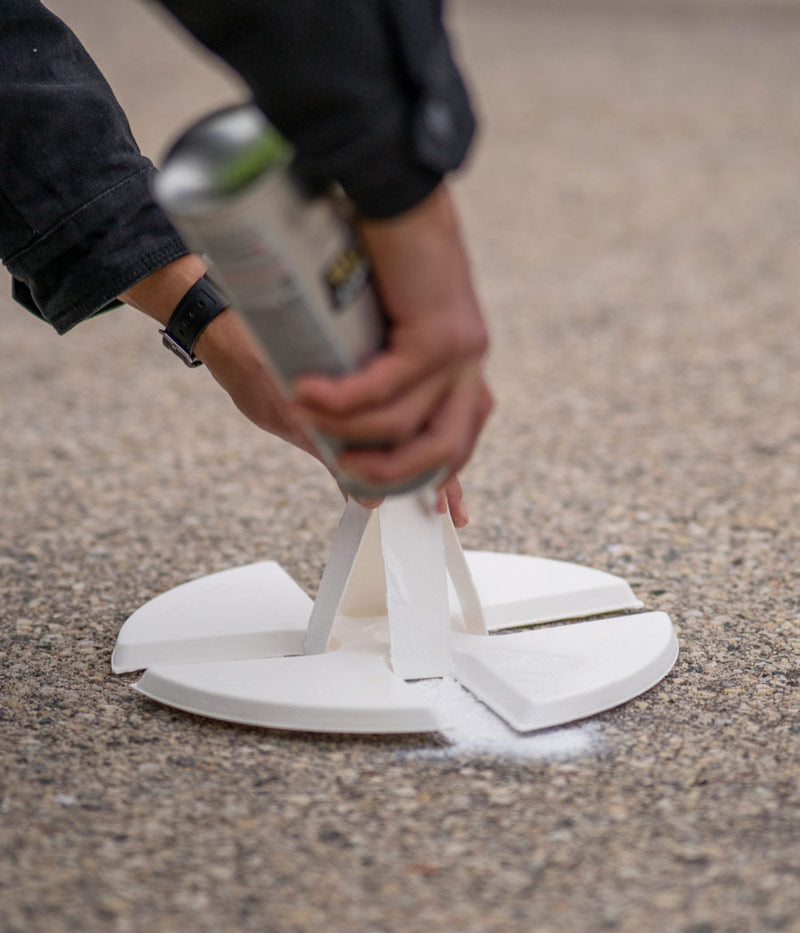
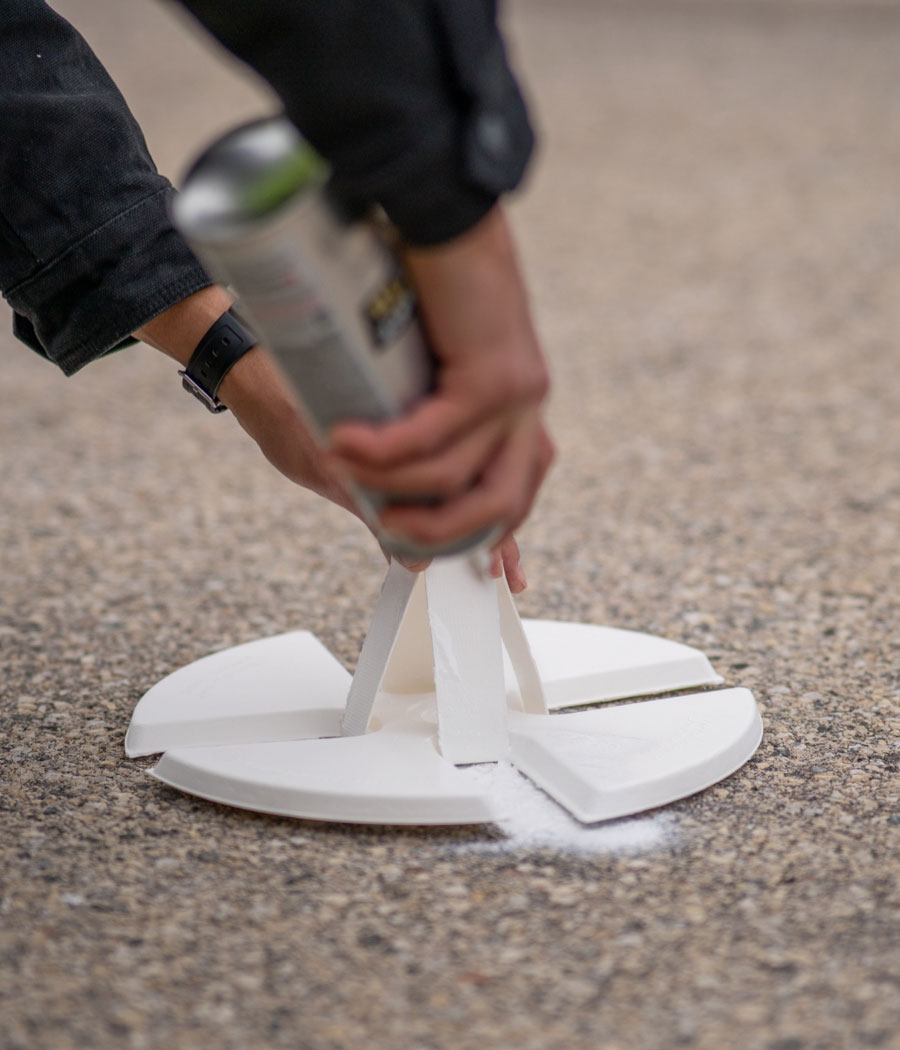
Spray Each Crosshair Region: Carefully apply spray paint to each interior region designated for the crosshairs. Aim for uniform and adequate paint coverage across all areas to enhance visibility and accuracy of the markings.
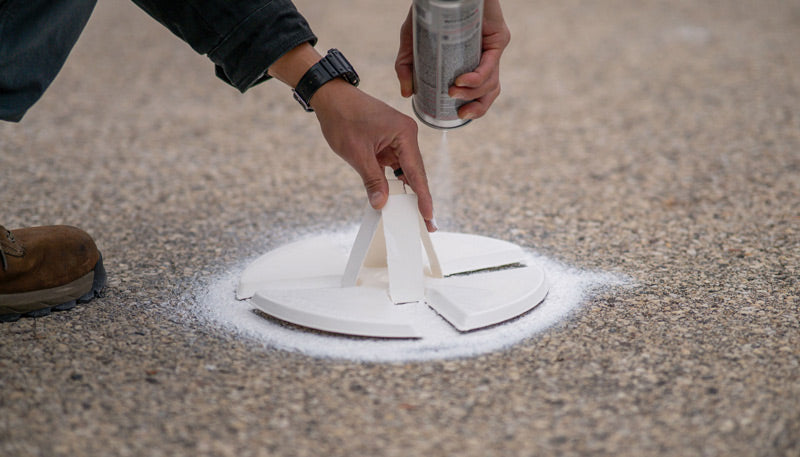
Tip for Optimal Application: Keep the stencil flush against the ground while spraying. If you notice any part of the stencil lifting, gently apply pressure towards that direction using the handles. This helps maintain contact with the surface, preventing under spray or blurry edges.
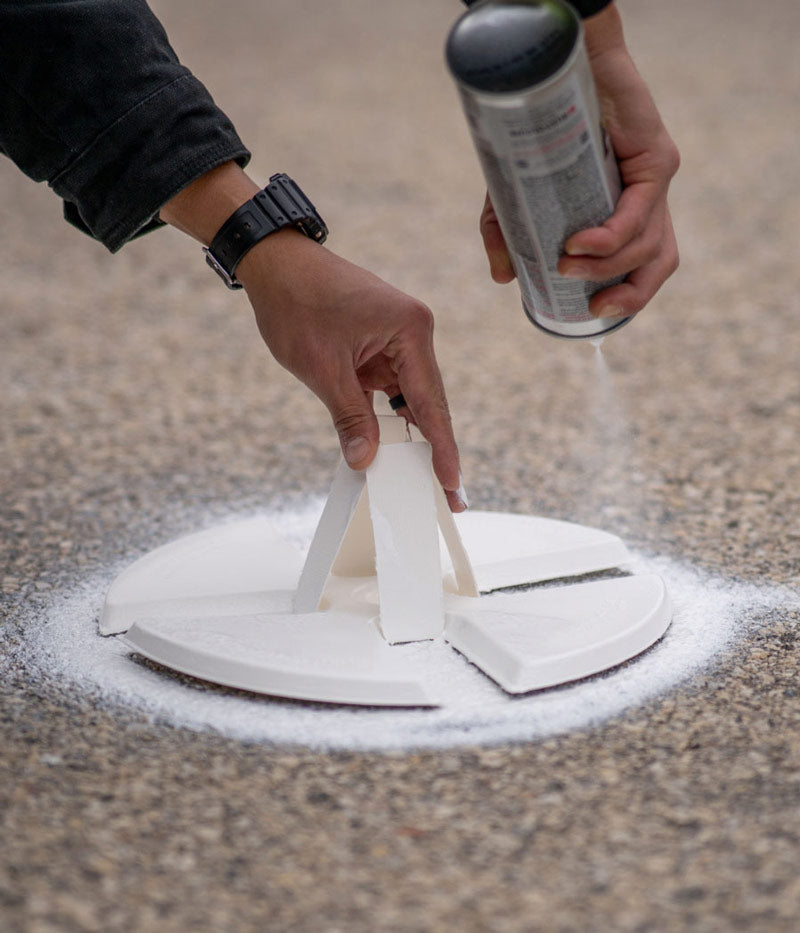
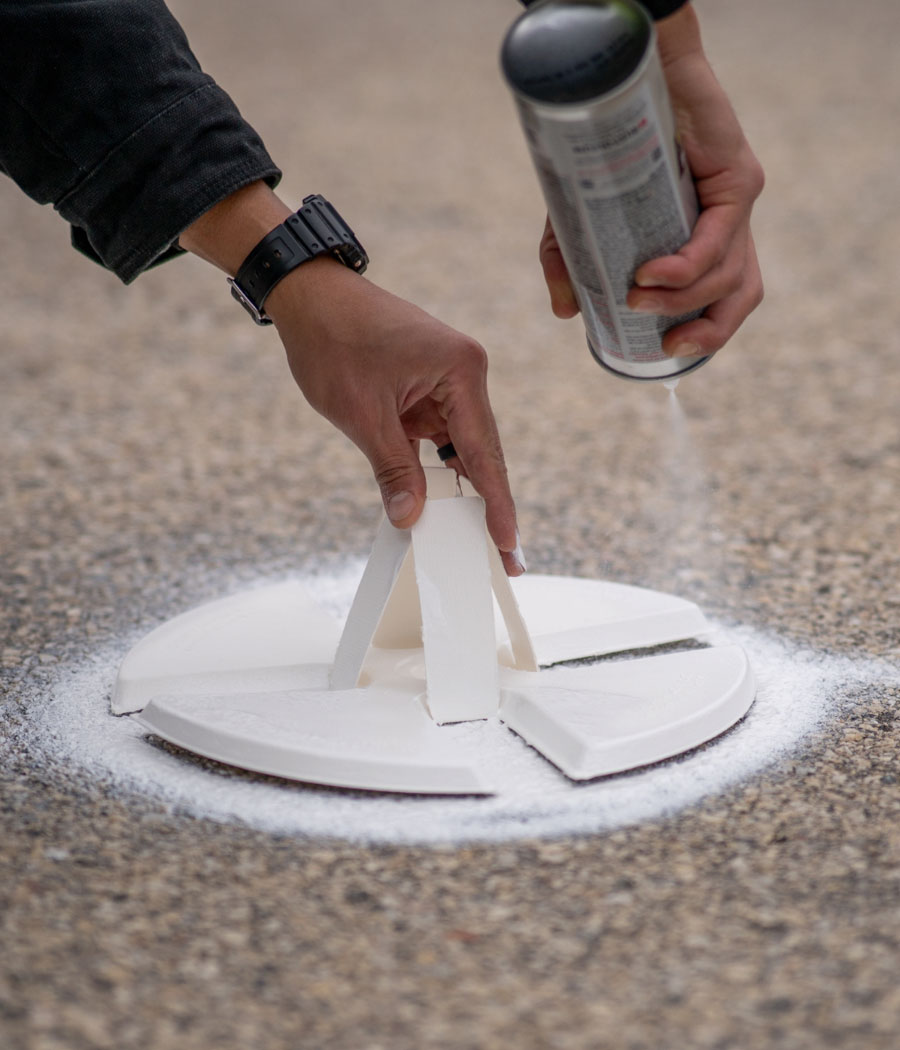
Apply Paint to Outer Edges: Holding the spray paint can steady, begin to apply paint around the perimeter of the stencil. Aim for a consistent band of paint that extends at least 2 inches beyond the stencil’s edge. A thicker boundary is preferable for ensuring high visibility.
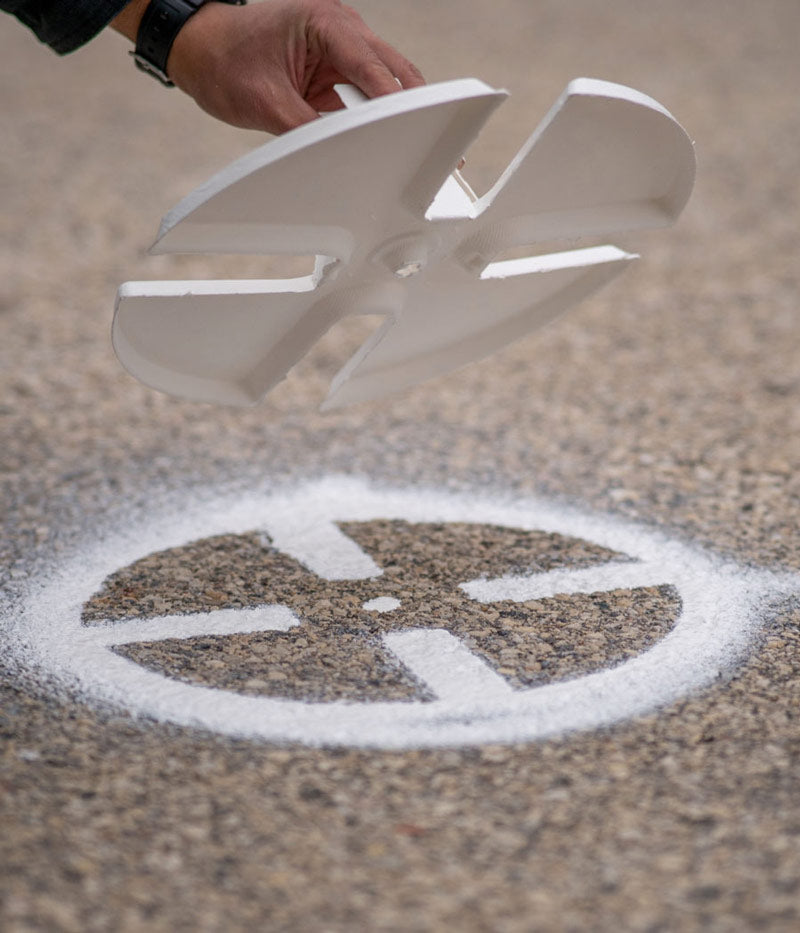
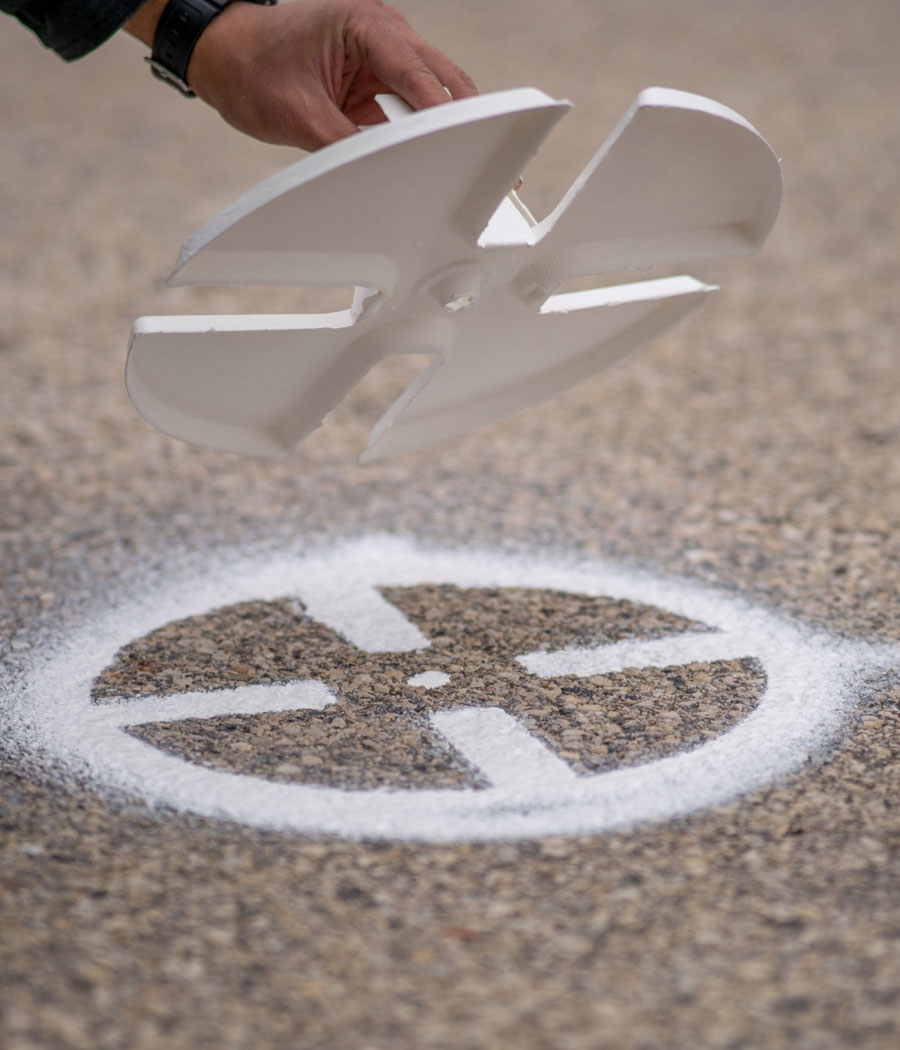
Straight Upward Motion: Gently lift the stencil directly upwards with a steady, even motion. It's crucial to avoid any sideways movement to prevent smearing the freshly applied paint.